summary
Help page for creating Connection Configuration for Box.
entry
| item name | indispensable | Contents |
|---|---|---|
| Name | Yes | Enter the name of the Connection Configuration to be used inside TROCCO. |
| memo | No | You can enter a note of Connection Configuration to be used inside TROCCO. |
| Authentication method | Yes | Select the authentication method.
|
| Box account | Yes | Enter when OAuth 2.0 authentication is selected as the authentication method. Click on Box Account Verification. |
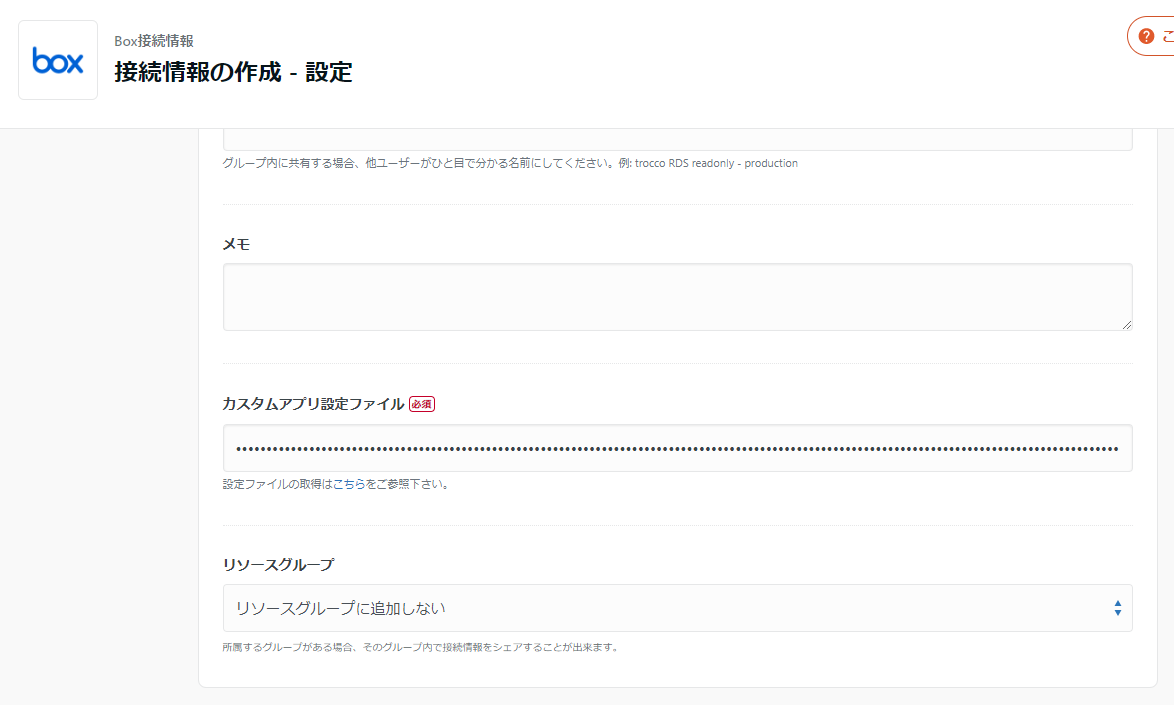
| custom apps configuration file | Yes | Enter this if JWT authentication is selected as the authentication method. For more information on input content, see Data Transfer Using Custom Application. |
precautions
Some of the Box API tokens, codes, and URLs have an expiration date.
An access token is used to retrieve data from the Data Source Box.
The access token is valid for 60 minutes.
If the data to be transferred cannot be retrieved from the Data Source Box within the expiration date, the relevant data will not be transferred.
In the unlikely event that data acquisition is not completed within the expiration date, please take measures such as reducing the size of the data to be transferred.
If OAuth 2.0 authentication is used as the authentication method, the update token is used to retrieve data from the Data Source Box.
Renewal tokens are valid for 60 days from the creation or use of the renewal token.
The renewal token will expire if no data transfer has been made for 60 days since the Connection Configuration was created or the last data transfer was made.
If your renewal token has expired, please re-authenticate your Box account from the Edit Connection Configuration screen.
In addition to the above, there are other items with set expiration dates.
See Token and URL Expiration Dates for more information.
Data transfer using custom apps
The following describes the procedure for transferring data using a custom application.
This section is divided into three processes: creating, approving, and sharing custom apps.
Creation of custom apps and request for approval
-
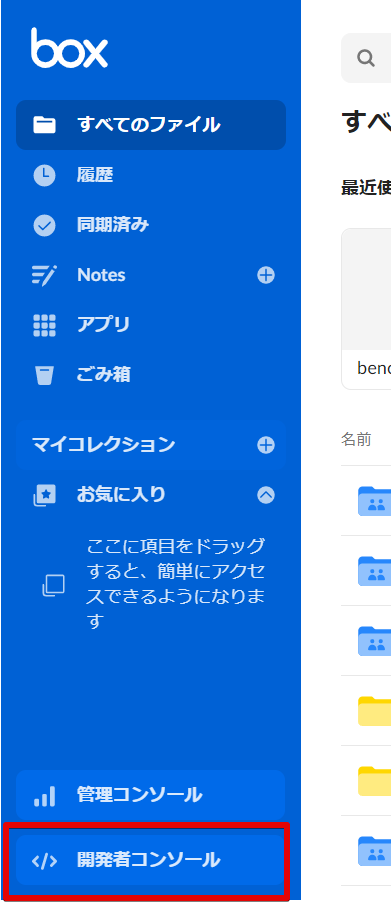
From My Account (the top screen of Box), click on Developer Console.
-
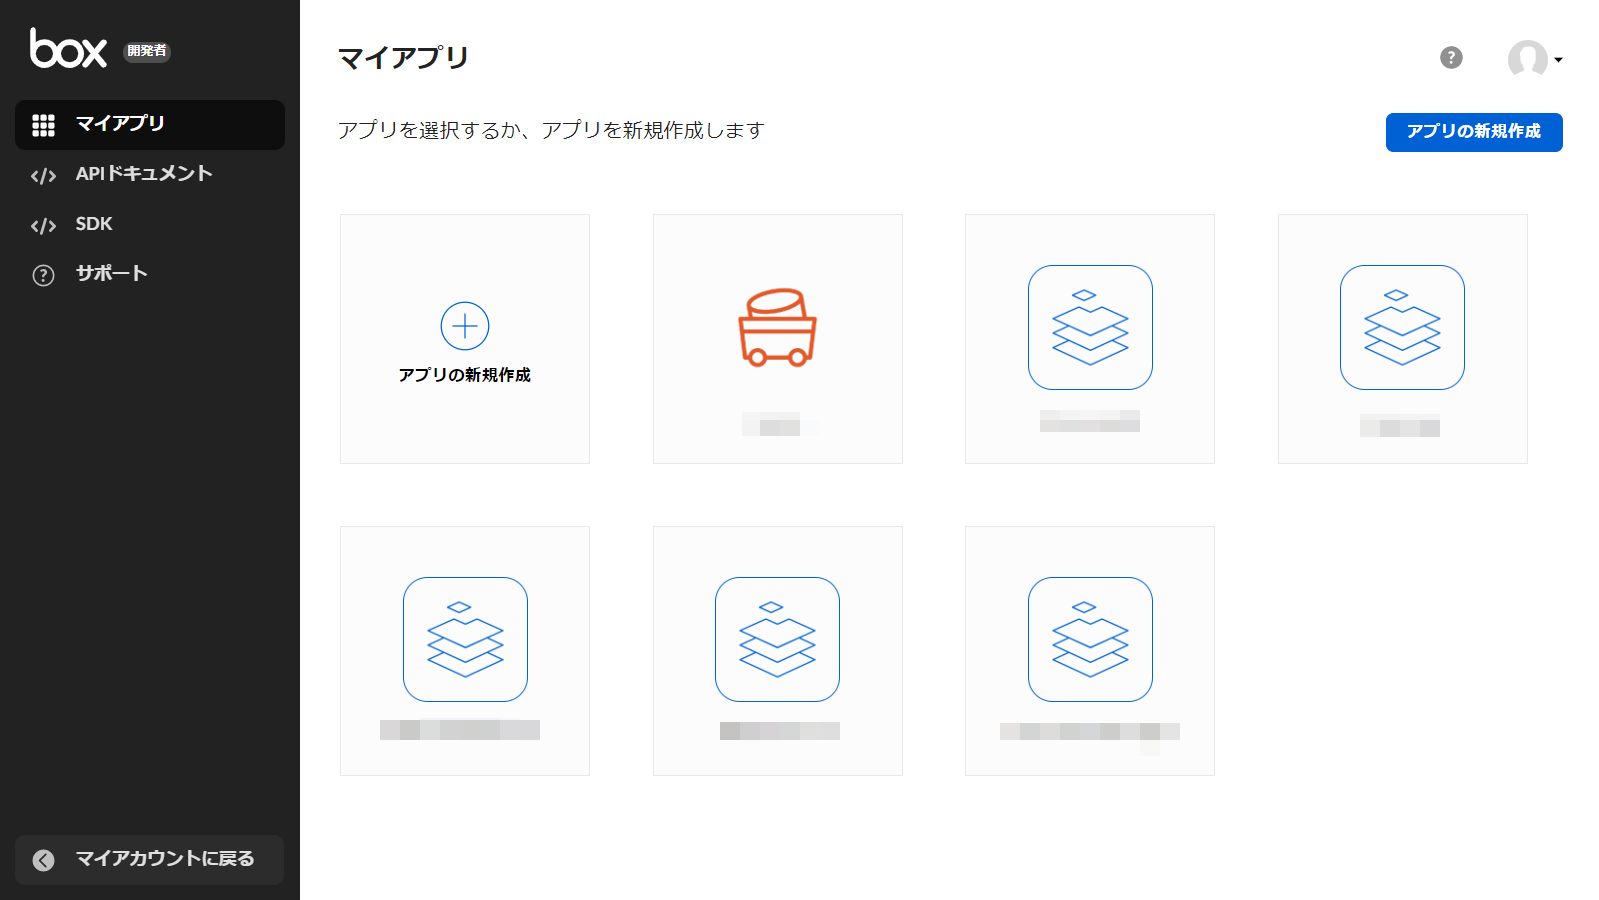
From My Apps, click Create New App.
-
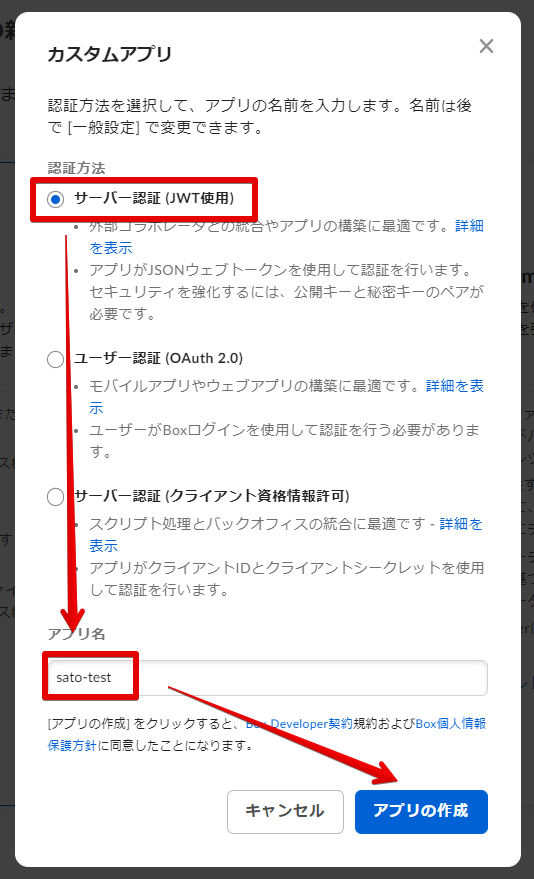
Click on Custom Apps.
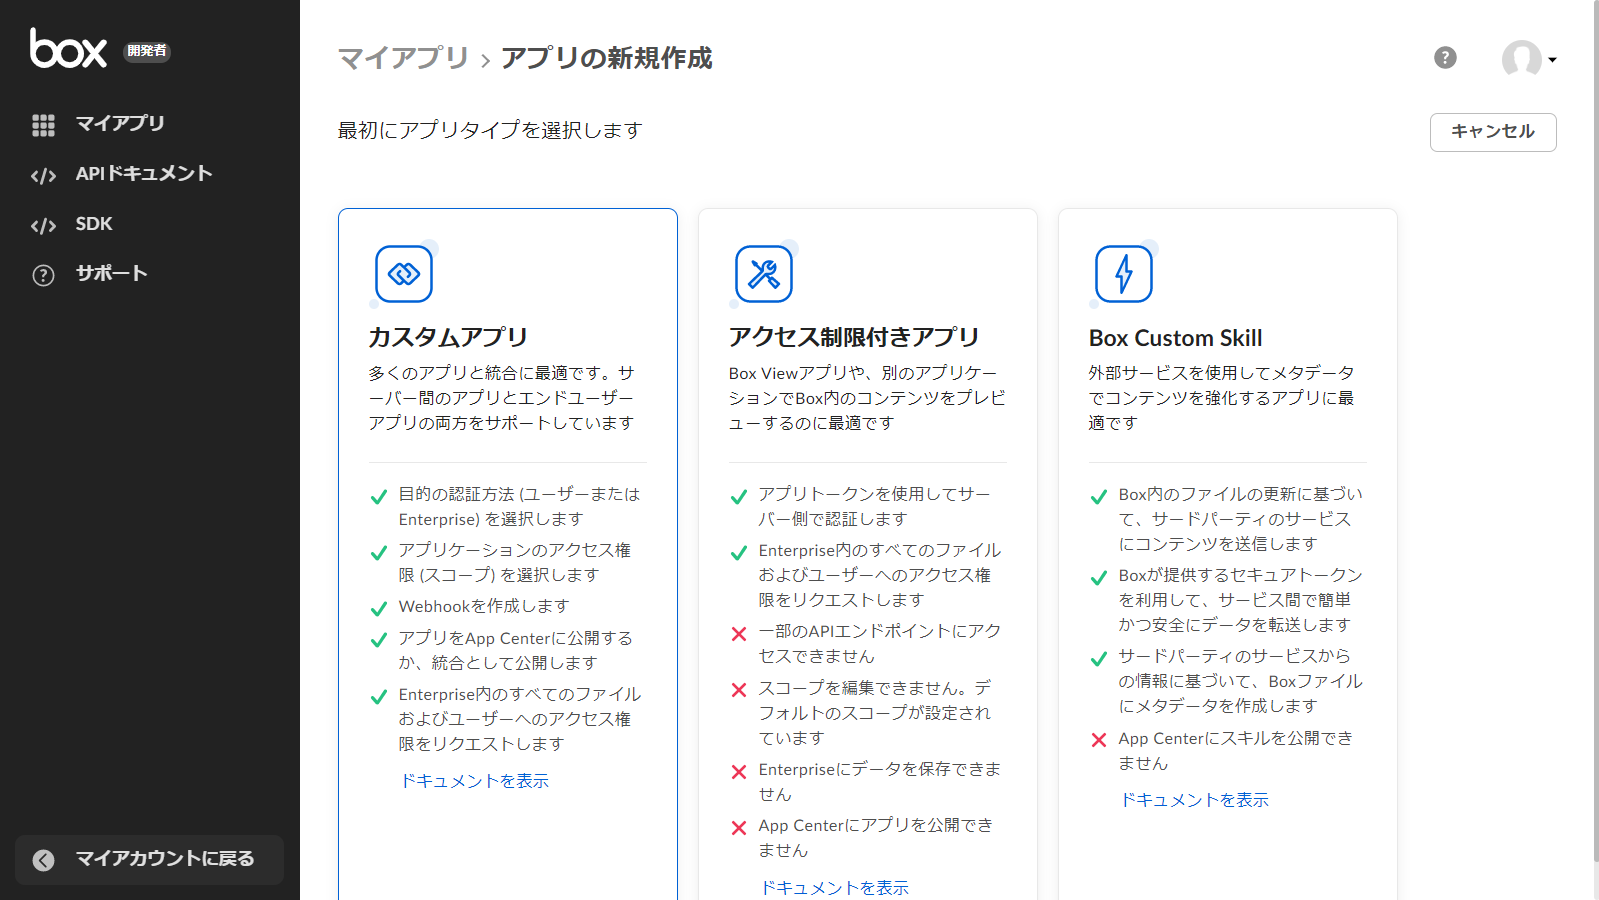
-
Select Server Authentication (using JWT) as the authentication method, enter any app name, and click Create App**.**
-
From the Configuration tab > Add and Manage Public Keys, click Generate Public/Private Key Pair.
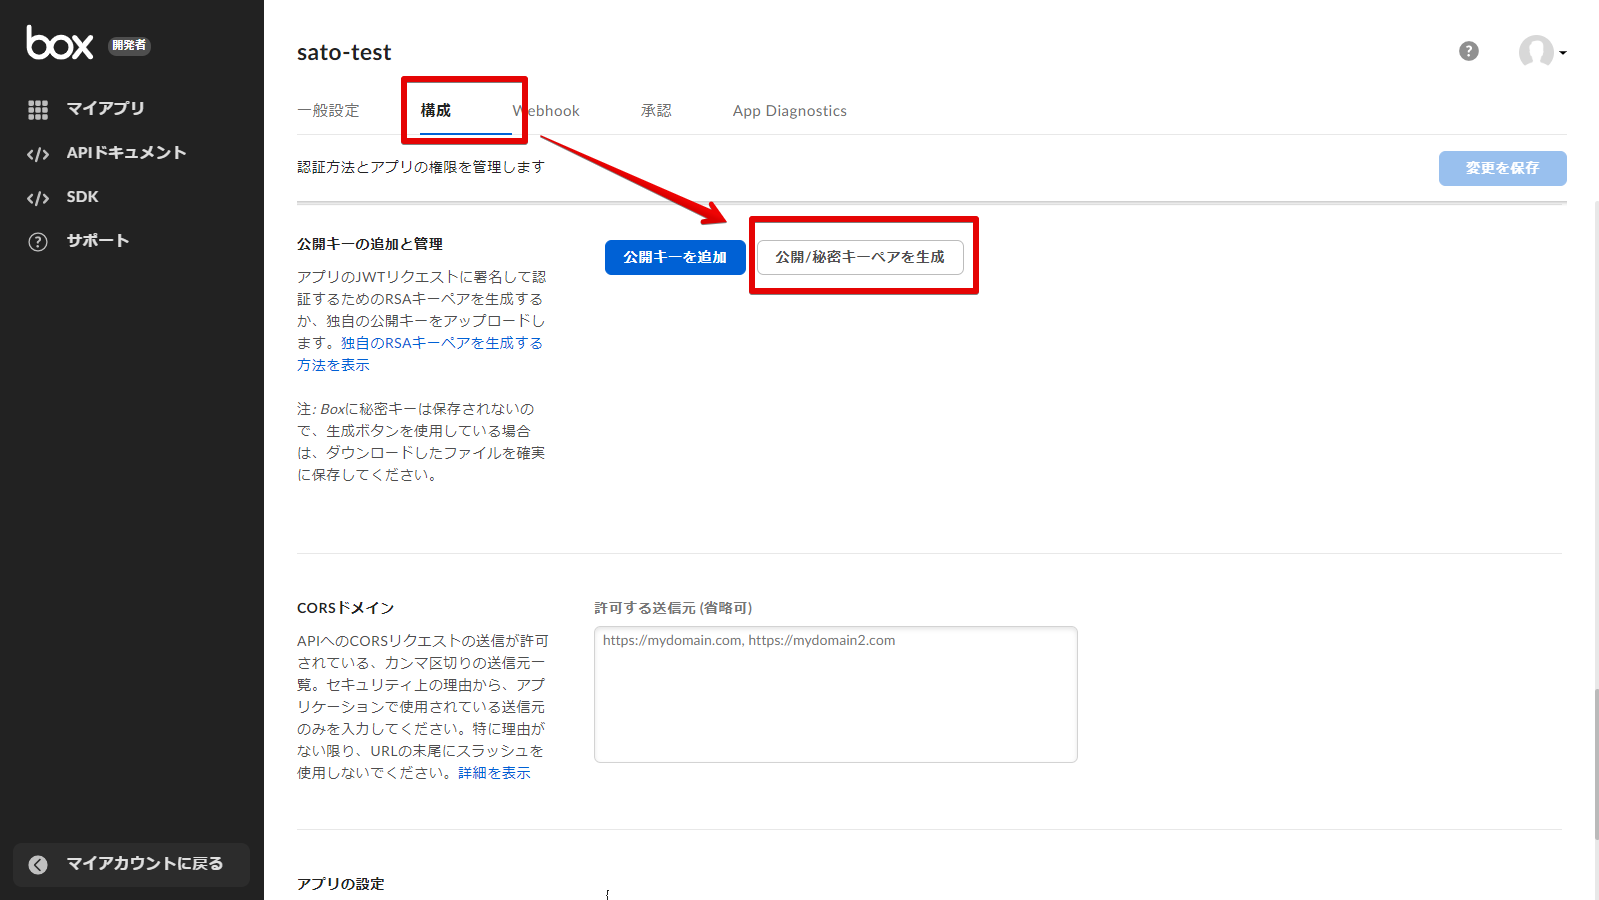
A secret key with the following configuration will be downloaded in JSON file format.
{ "boxAppSettings": { "clientID": “YYYYYY", "clientSecret": “XXXXXXX", "appAuth": { "publicKeyID": “AAAA", "privateKey": “BBBBB", "passphrase": “CCCC" } }, "enterpriseID": “ZZZZ"}
-
Copy the entire contents of the JSON file obtained in the previous step and paste it into the Custom Application Configuration file on TROCCO's Connection Configuration screen.
-
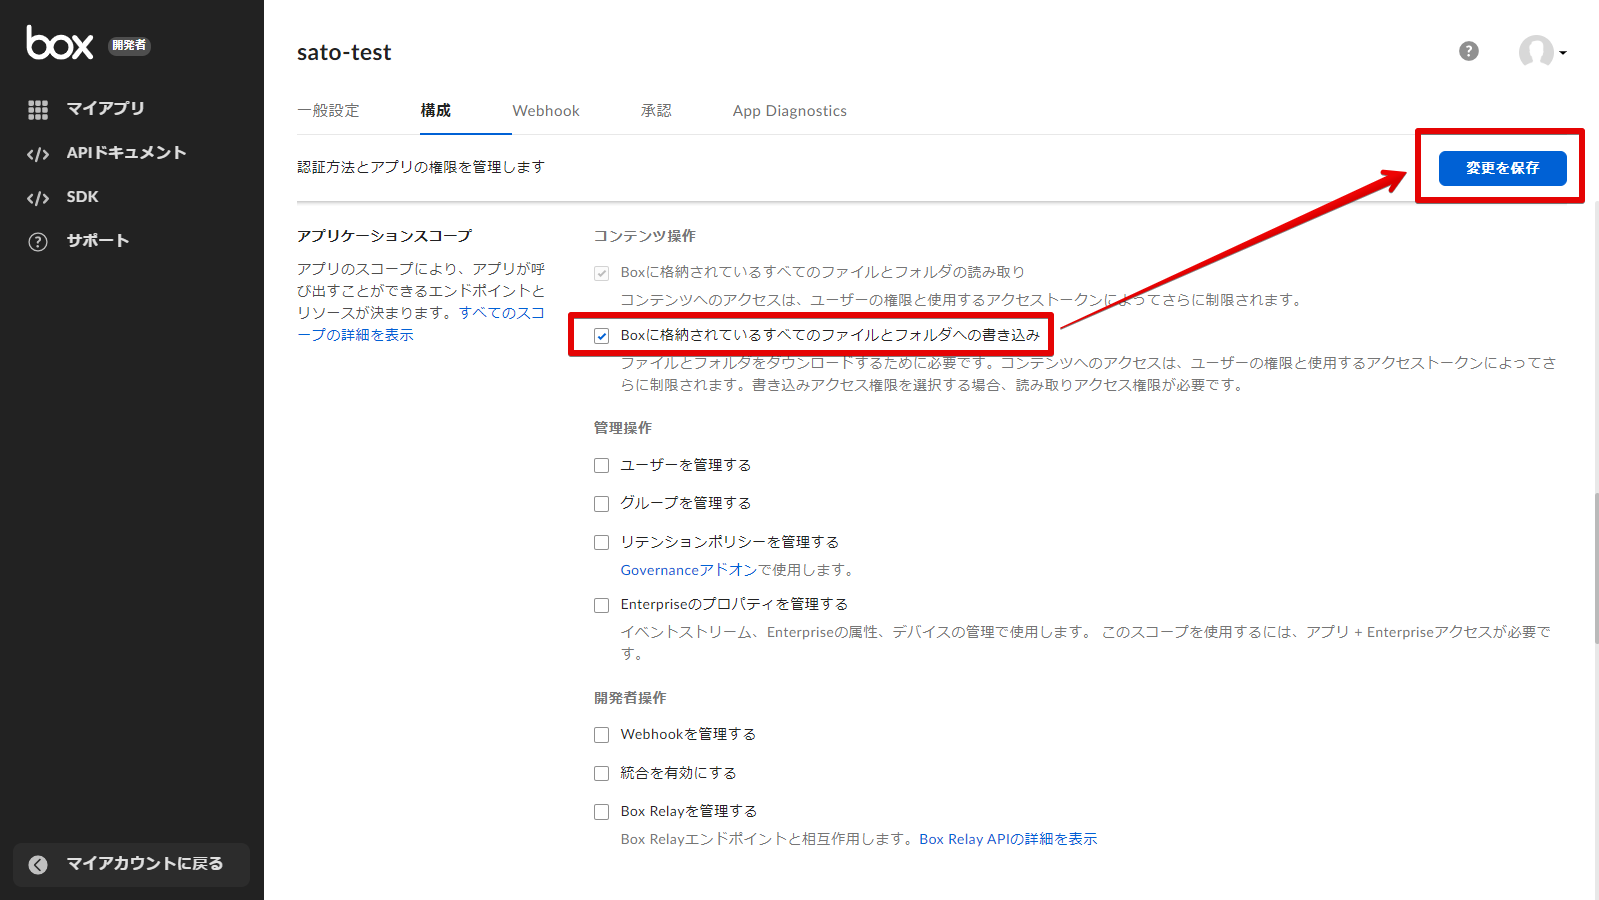
From the Configuration tab > Application Scope, enable Write to all files and folders stored in Box and click Save Changes.
Note that by activating this item, files can be downloaded from Box during data transfer.
-
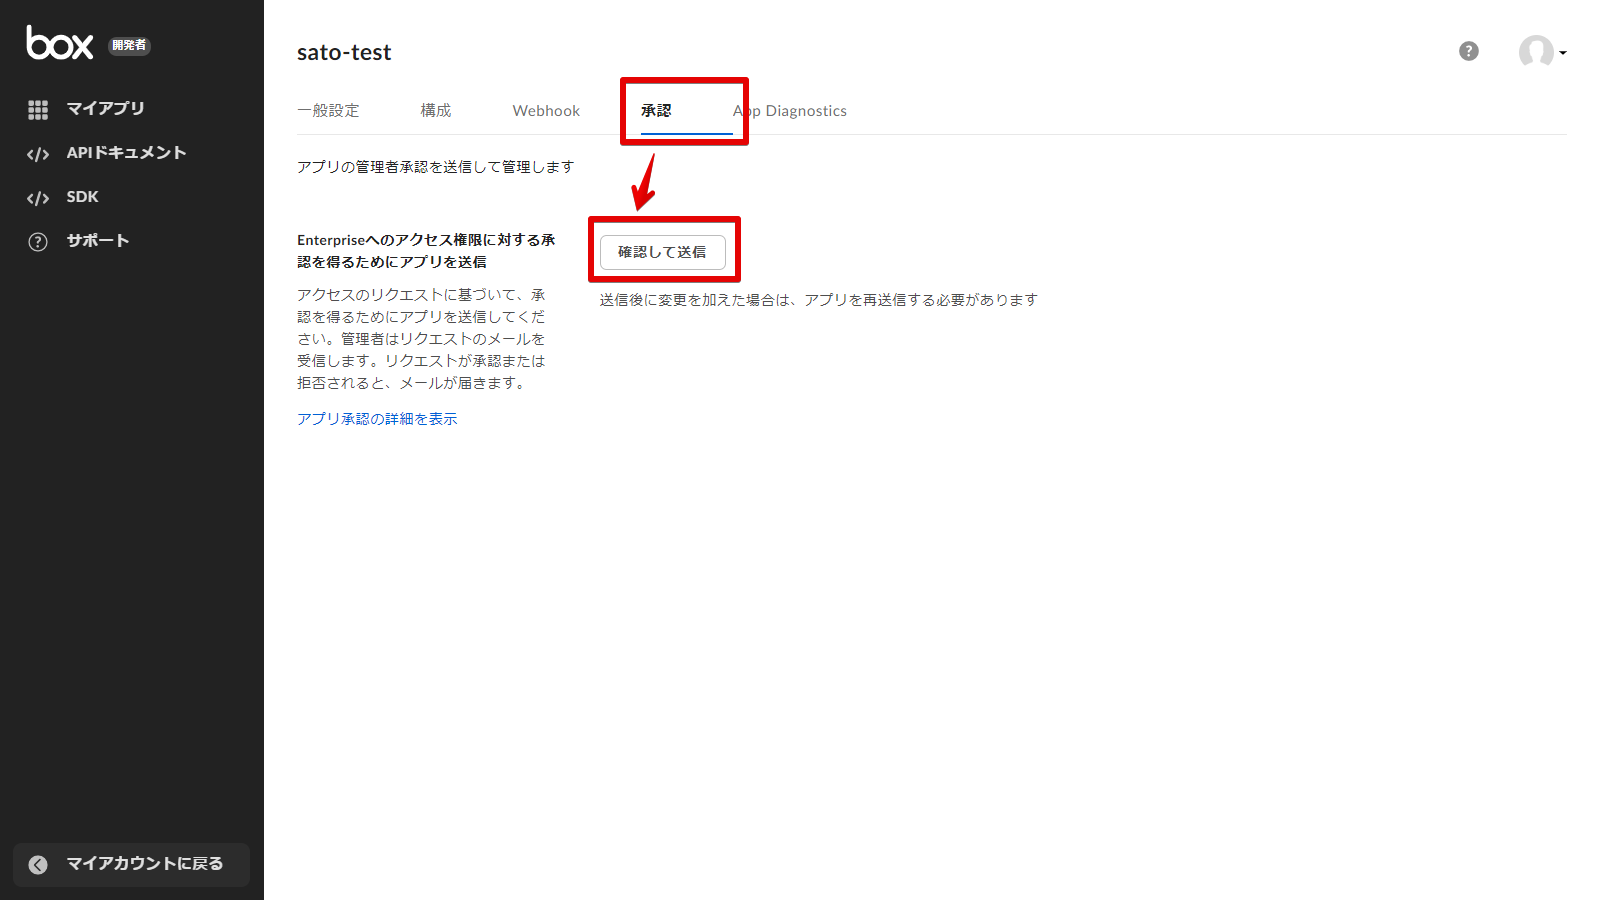
Approval tab > Click Confirm and Submit.
-
Enter a description as appropriate in the Application Description field and click Submit.
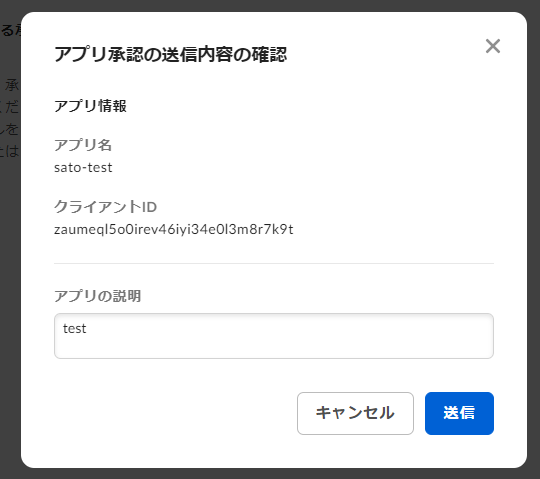
An approval request for the custom app you created will be sent to a user with administrative privileges in Box.
Custom App Approval
The following steps can only be performed by users who have administrative rights to their Box account.
-
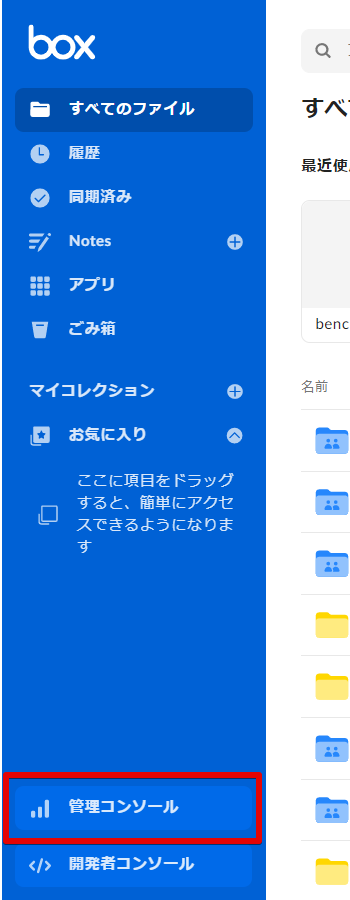
From My Account (the top page of Box), click on the Management Console.
-
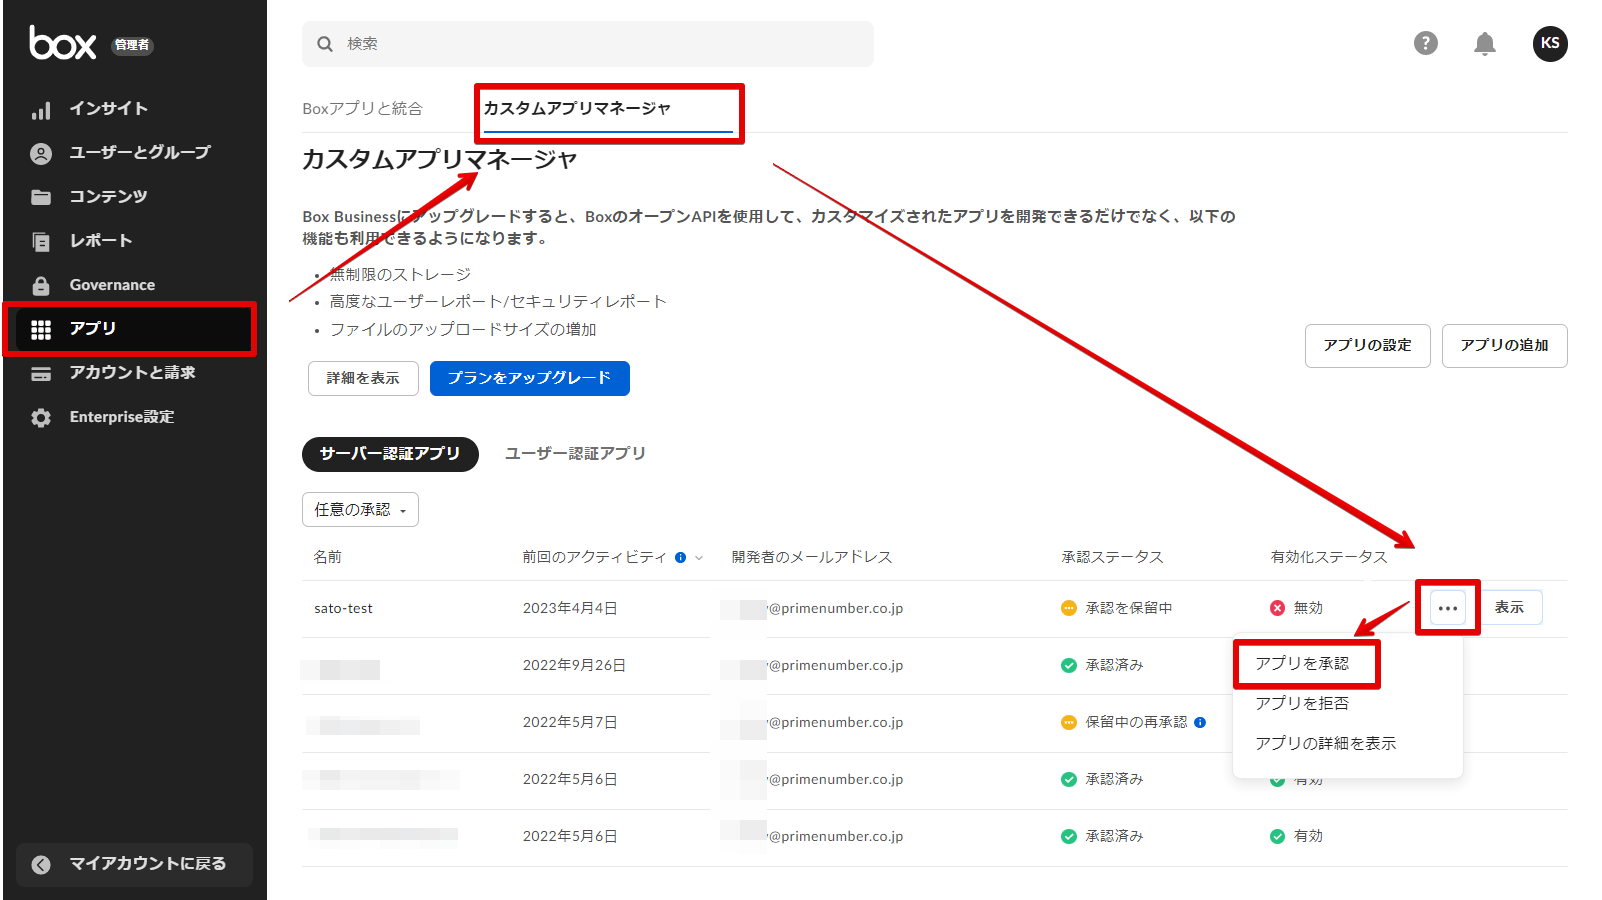
Click on the Apps > Custom App Manager tab and click Approve App from the menu of the custom app you created.
-
Click Approval.
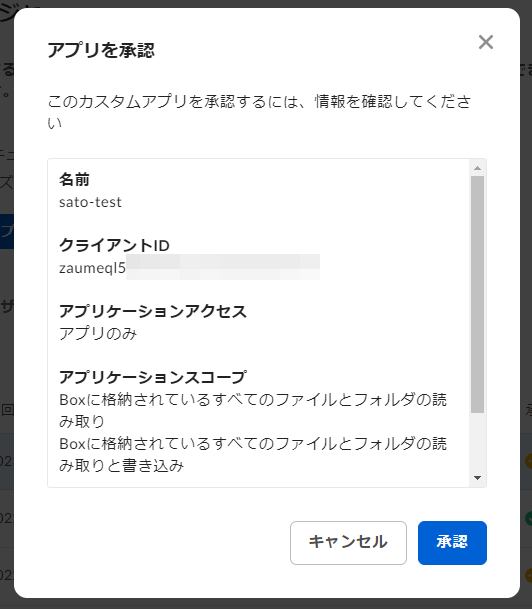
The approval status is set to Approved.
Sharing Settings for Data Settings for ETL Configuration
-
From My Account (the top screen of Box), click on Developer Console.

-
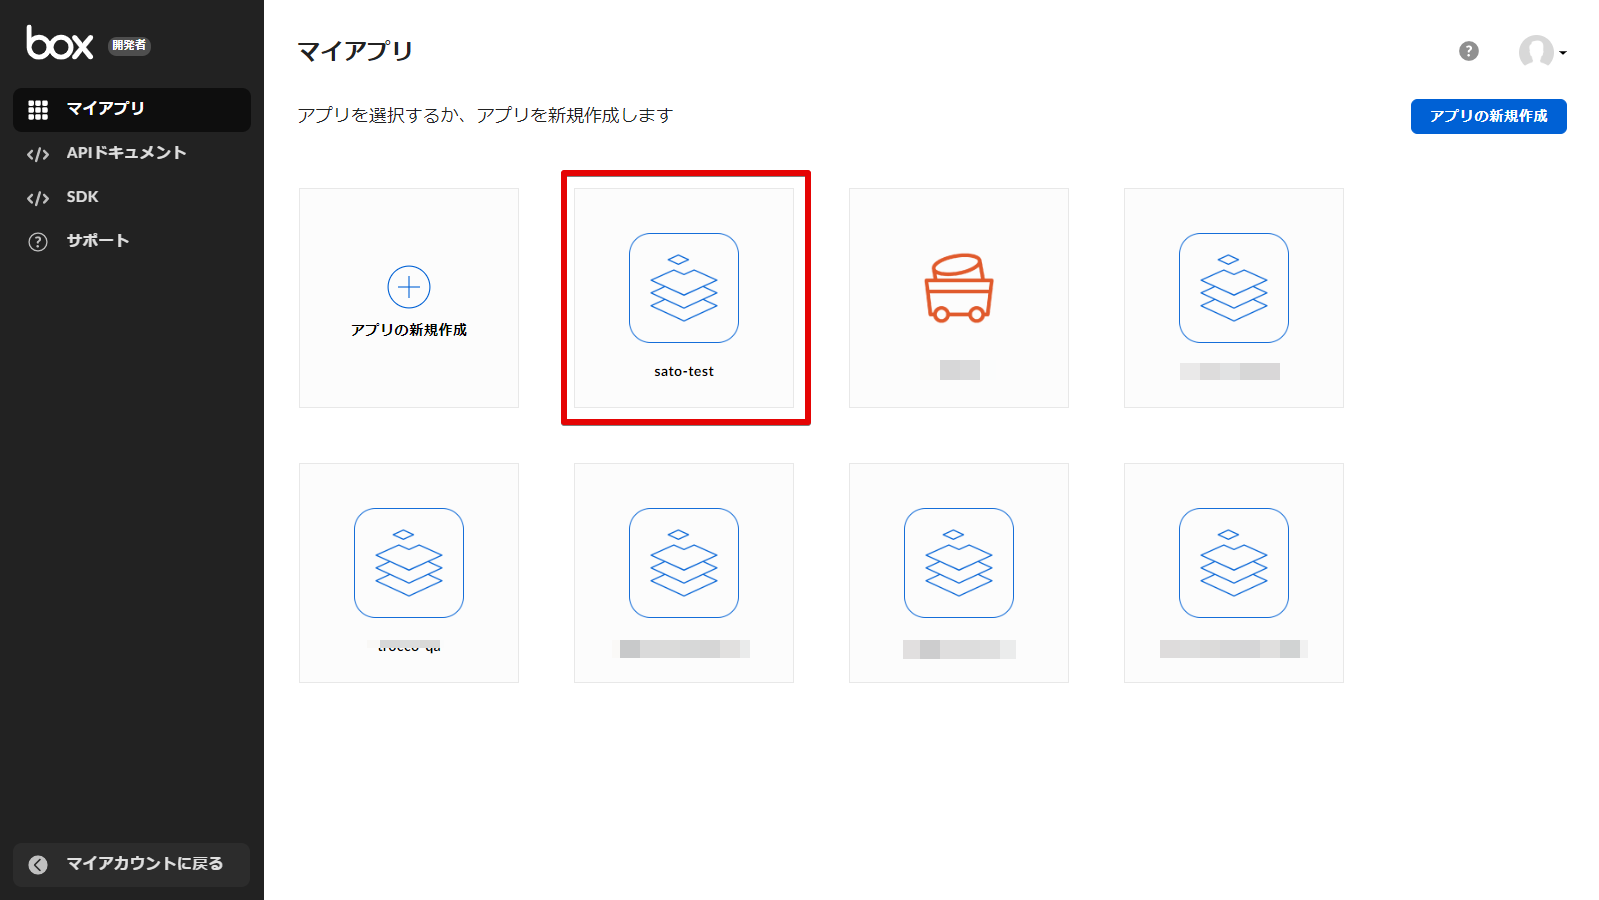
Click on the custom app you created.
-
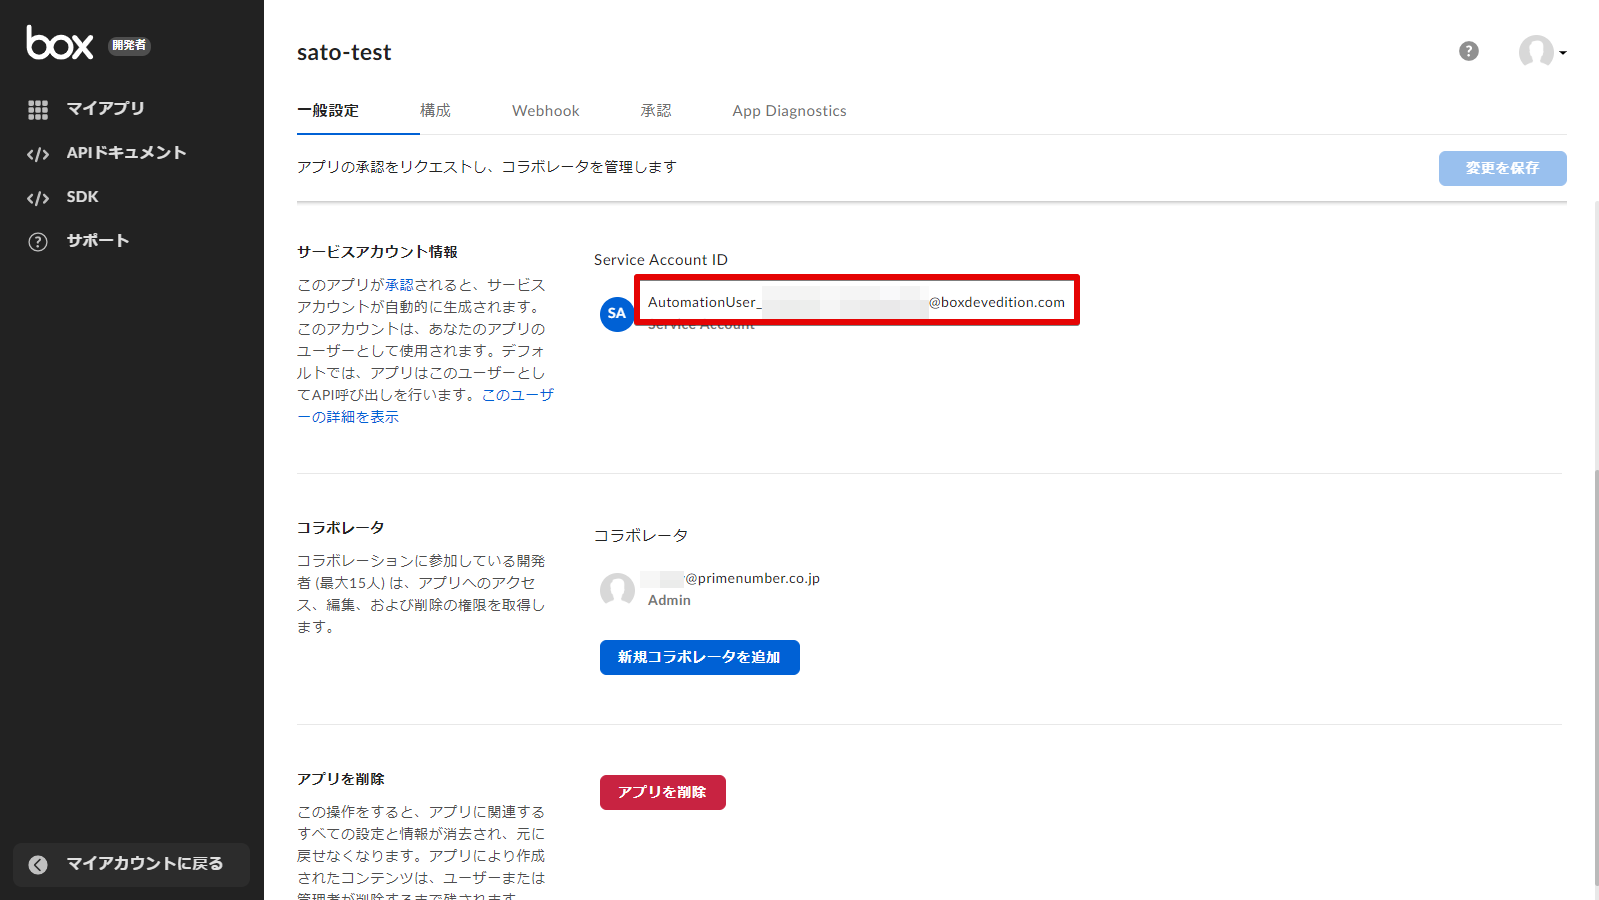
Copy the Service Account ID from the General Settings tab > Service Account Information.
-
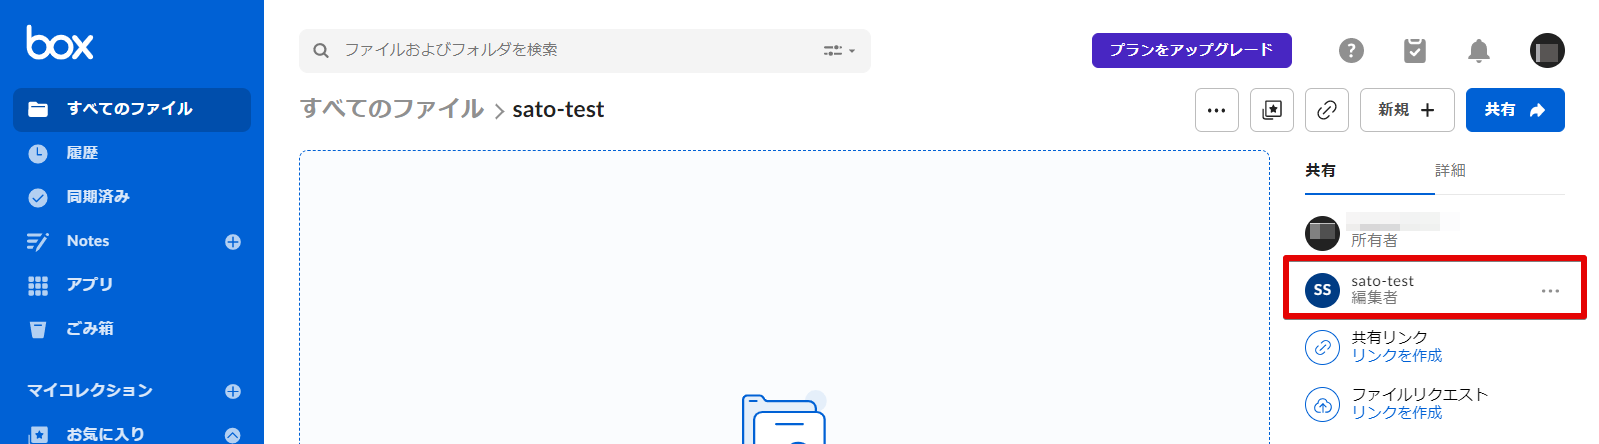
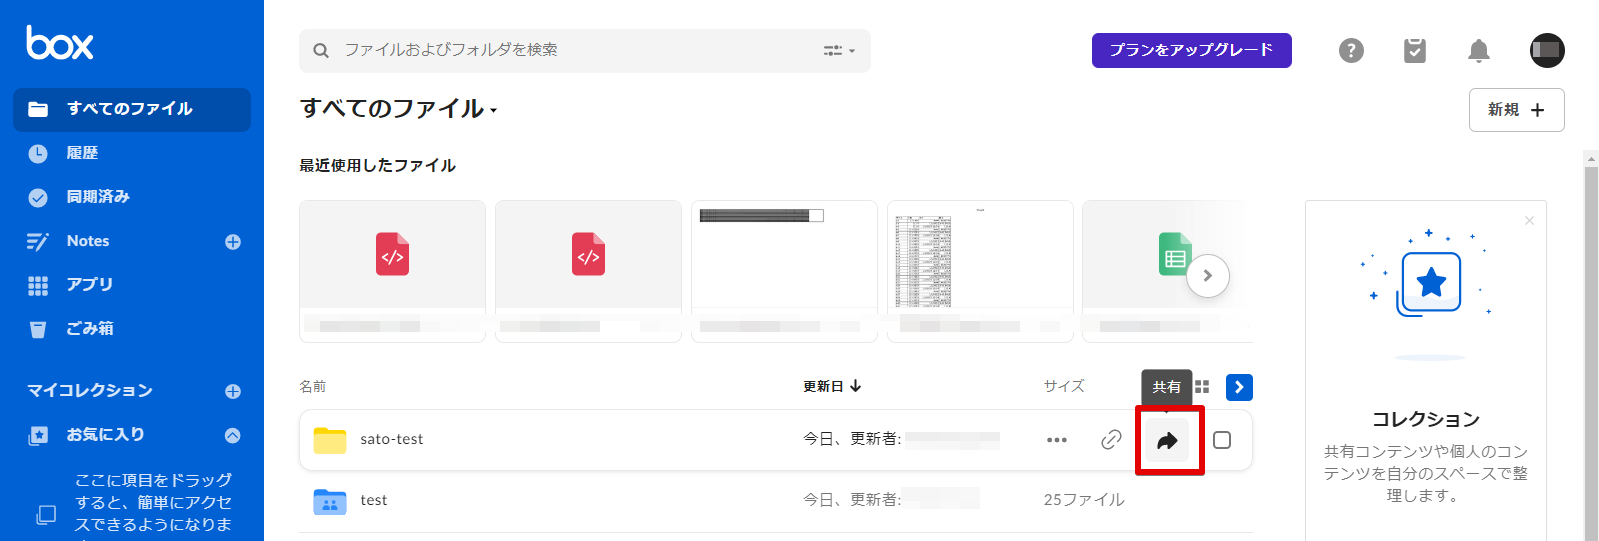
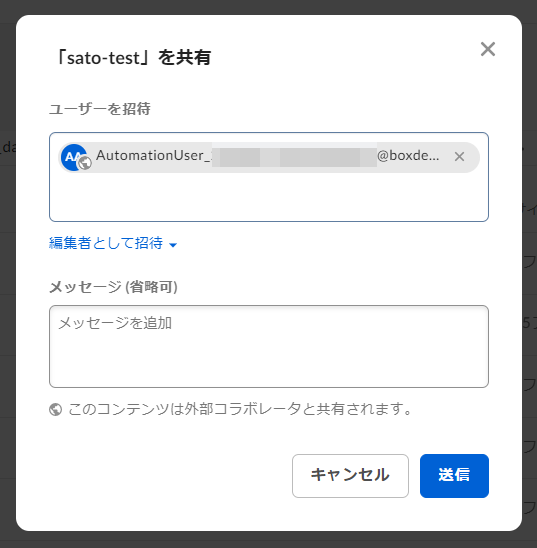
Return to My Account (the top screen in Box) and click Share for the file or folder you wish to transfer.
-
Paste the Service Account ID copied in the previous step into the Invite Users field and click Submit.
When you open the corresponding file/folder, you will see that the service account has been granted privileges.