summary
This is the help page for setting up Connection Configuration in Salesforce.
entry
elementary item
| item name | indispensable | Contents |
|---|---|---|
| Name | Yes | Enter the name of the Connection Configuration to be used inside TROCCO. |
| memo | No | Enter a note of Connection Configuration to be used inside TROCCO. |
You can choose "OAuth authentication" or "user password authentication" as an authentication method.
The setting method differs depending on the authentication method.
For OAuth Authentication
| item name | indispensable | Contents |
|---|---|---|
| Sandbox Environment | No | Check this box if you want to connect to Salesforce's Sandbox environment. |
| Salesforce account authentication | Yes | Click the Authenticate button to log in to Salesforce. |
precautions
- Connection Configuration created by OAuth Authentication can only be used by Data Source Salesforce.
- Please use User Password Authentication when using Data Destination Salesforce, Data Source Salesforce Reports, and Data Source Tableau CRM Analytics.
For user/password authentication
| item name | indispensable | Contents |
|---|---|---|
| user ID | Yes | Enter your Salesforce user ID. |
| (computer) password | Yes | Please enter your Salesforce password. |
| security token | Yes | Enter your Salesforce security token. The procedure for creating a new product is summarized below. |
| salesforce endpoint | No | Please enter a salesforce endpoint. If not entered, it defaults to https://login.salesforce.com/services/Soap/u/ will be set.Also, if you wish to link with a sandbox environment, please use the You will need to set it up like https://test.salesforce.com/services/Soap/u/. |
Creating Users (OAuth Authentication)
With OAuth authentication, TROCCO assumes all of the user's privileges. It is recommended to create a read-only user for OAuth authentication according to the following procedure to narrow down the privileges.
creation procedure
- Log in to Salesforce.
- Click on the gear ⚙️ icon in the upper right corner and select Settings.
- Open the Profile List screen from Administration > Users > Profiles in the left side menu.
- Click the New Profile button.
- Select Read Only for the existing profile and give it an appropriate name (e.g. (trocco-read-only) and save.
- Click on Edit Profile, check References for the objects to be referenced in TROCCO from the****Standard Object Permissions and Custom Object Permissions, and save.
- Open the User List screen from Administration > Users > Users in the left side menu.
- Click the New User button and enter the following information
- User Licenses Salesforce
- Profile: (1) The profile you just created
- E-mail address: (Japanese only) Enter an email address where you can receive a confirmation email
- Save and creation is complete. You will receive a confirmation email to the email address you entered, so please log in for the first time.
How to create a security token (user/password authentication)
If you wish to use user/password authentication, please follow the steps below to issue a security token.
-
Log in to Salesforce.
-
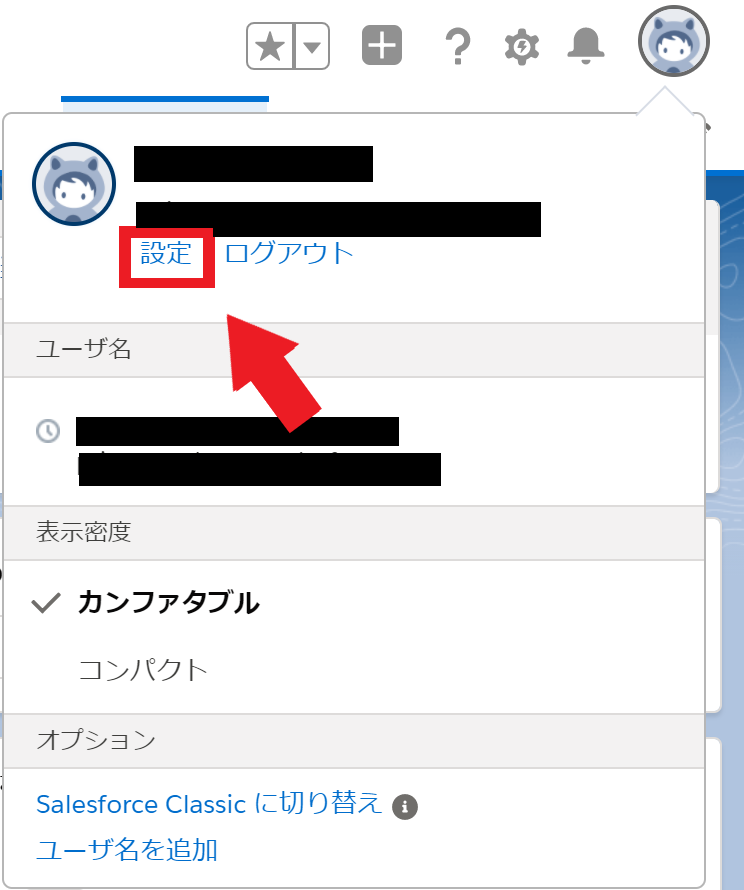
After logging in, click on the user icon in the upper right corner.
-
Click on the user name, then click on Settings.
-
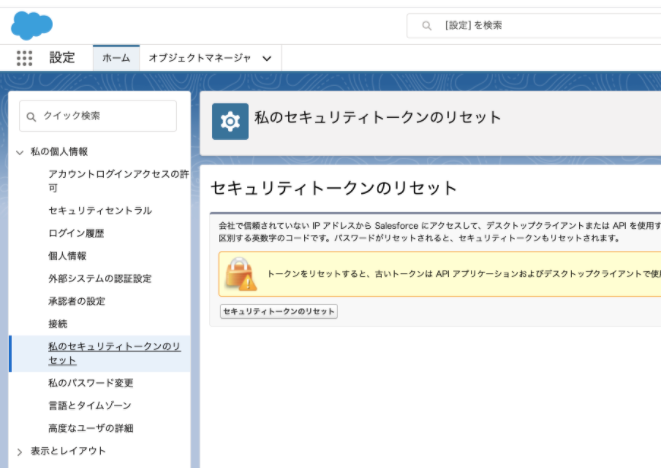
Once you are on the personal settings screen, click on Reset my security token from my personal information in the left menu.
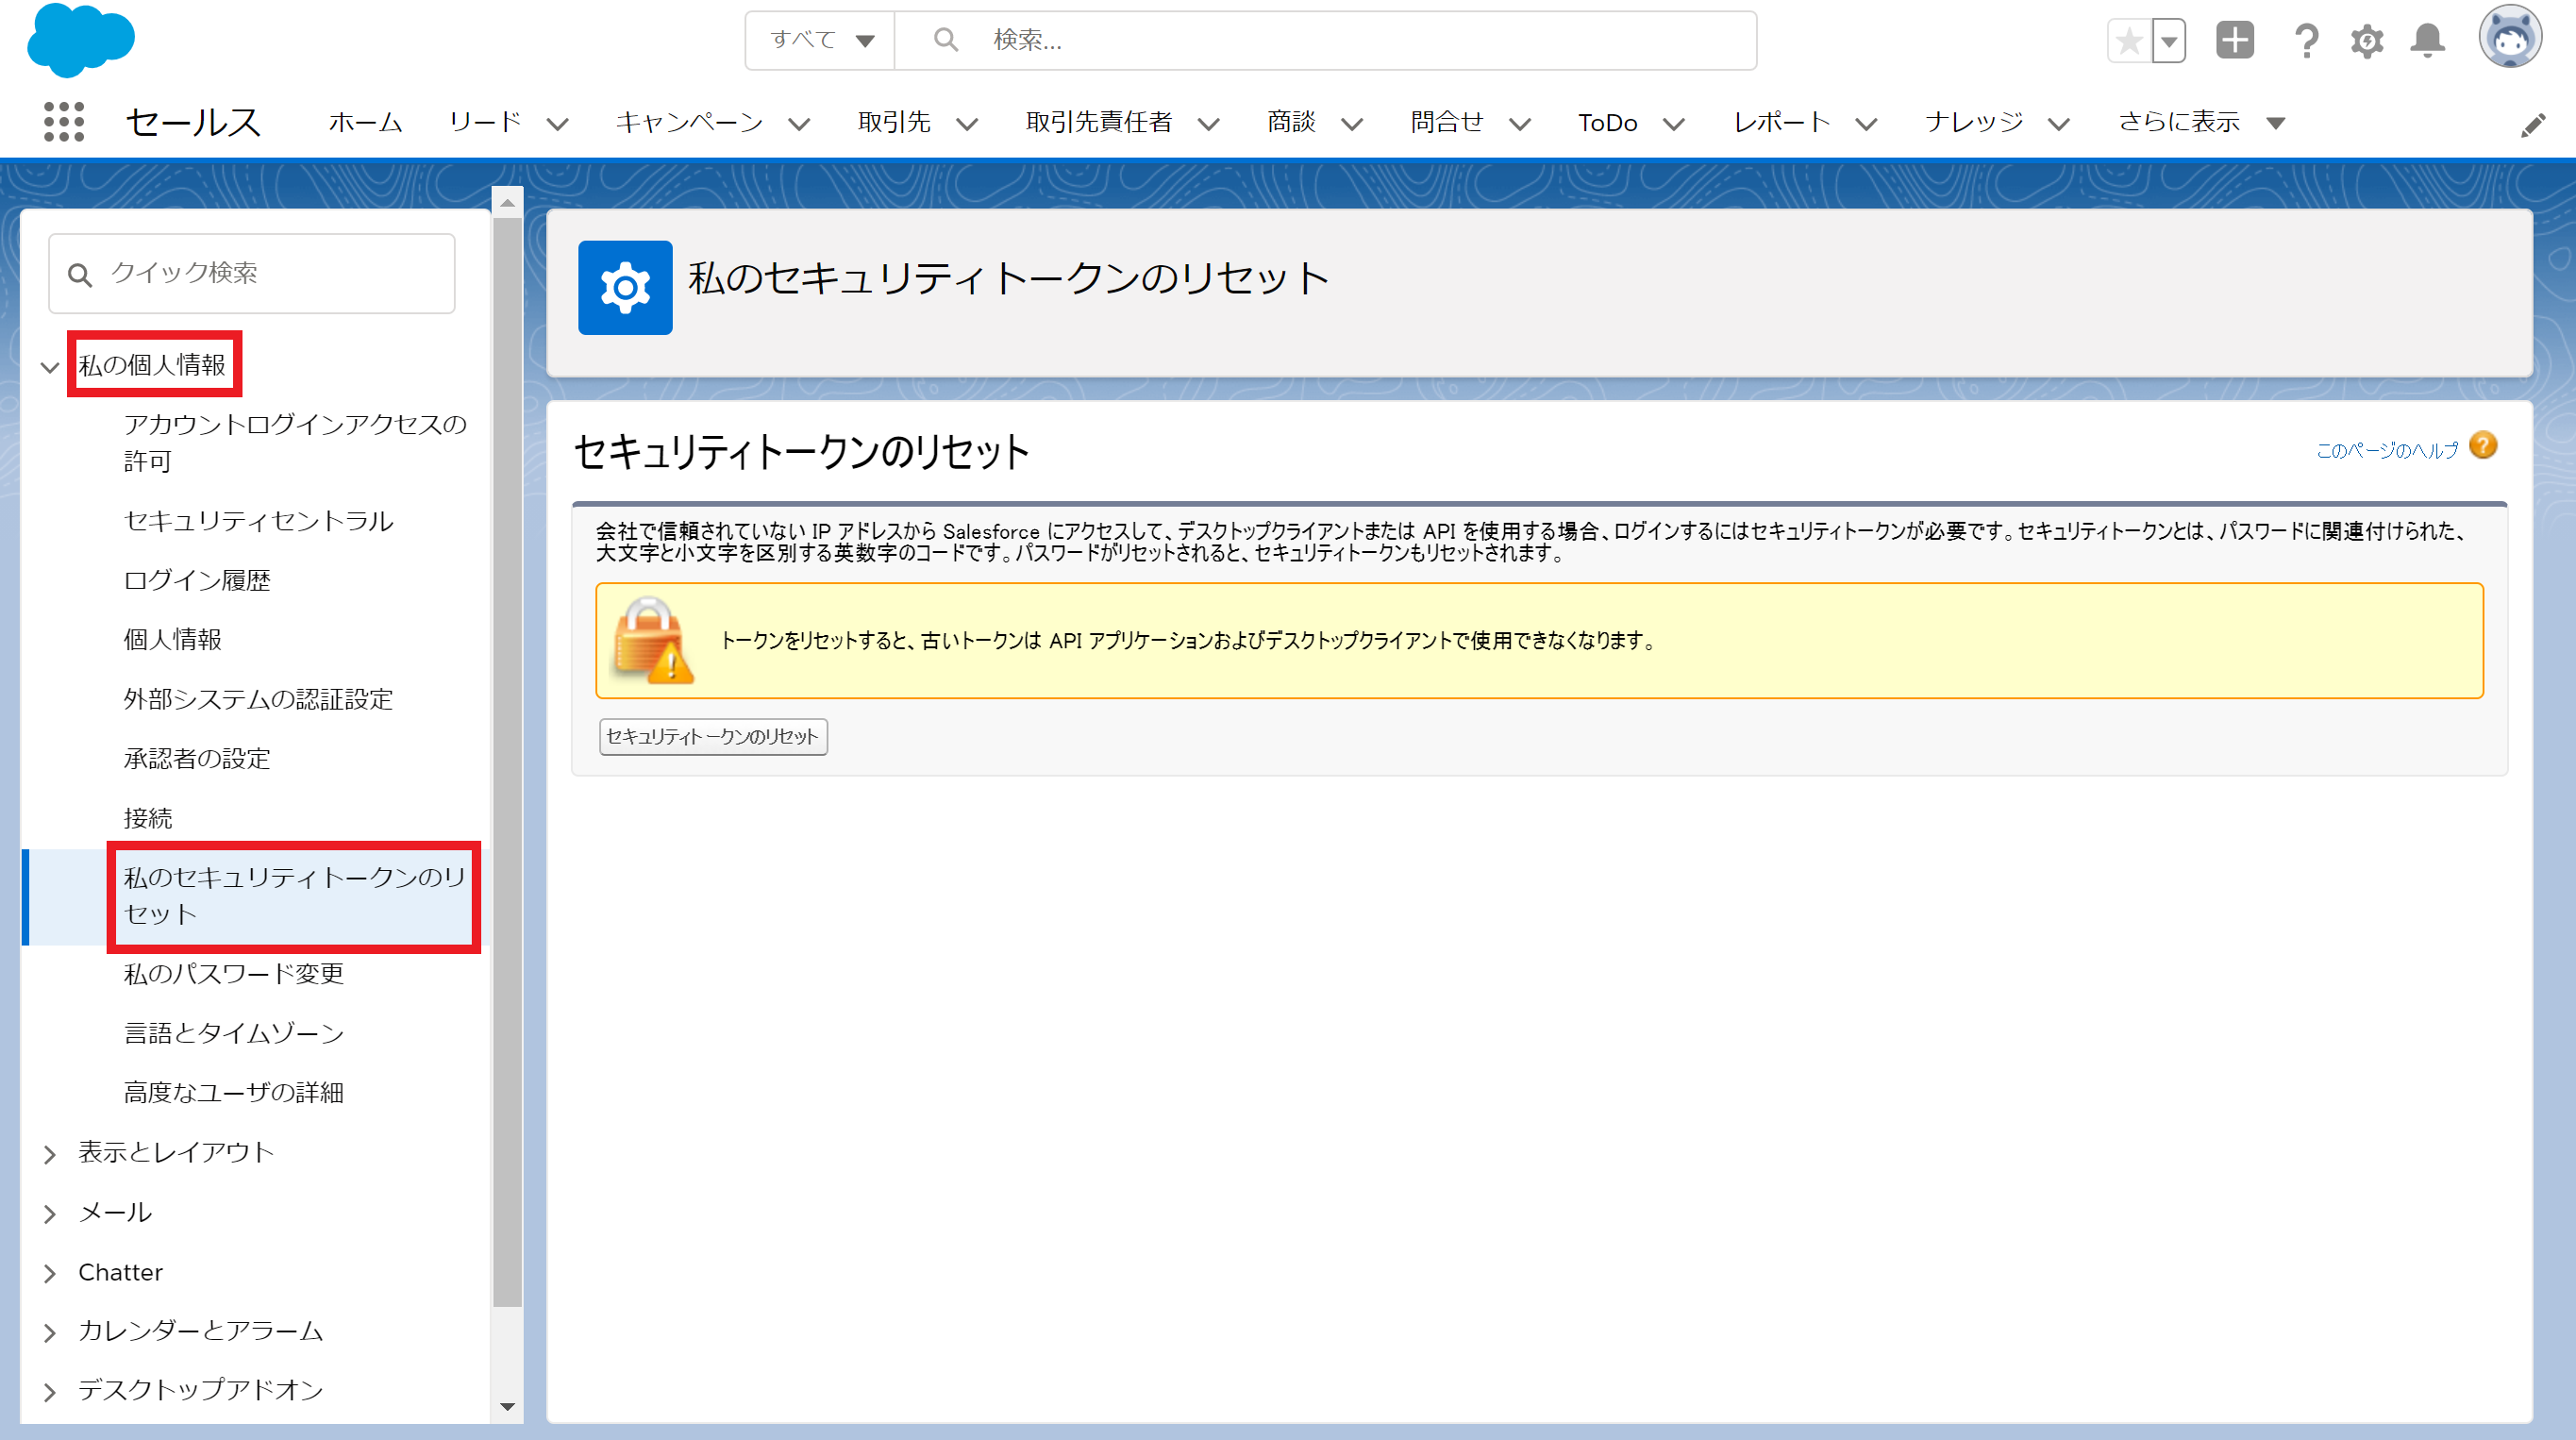
-
Clicking Reset Security Token will send the security token to your registered email address.