How to specify the time zone in the Data Destination column representing the time
- Print
- PDF
How to specify the time zone in the Data Destination column representing the time
- Print
- PDF
Article summary
Did you find this summary helpful?
Thank you for your feedback!
summary
If you wish to use a specific time zone, such as Asia/Tokyo, in the Data Destination column, you can do so by following the steps below.
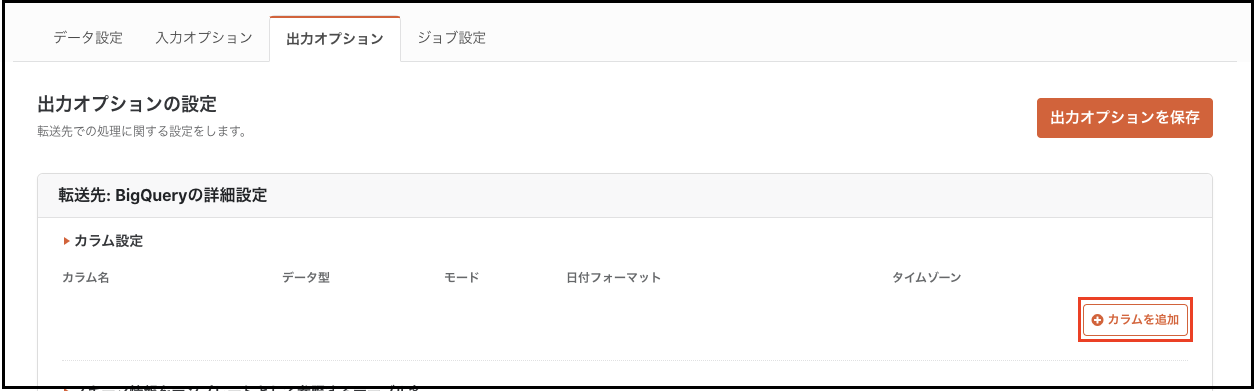
- Click on Add Column****in the Column Settings item on the Output Option tab of "STEP2 Data Preview/Detailed Settings" in the Target ETL Configuration.
*Following is an example of specifying BigQuery as Data Destination.
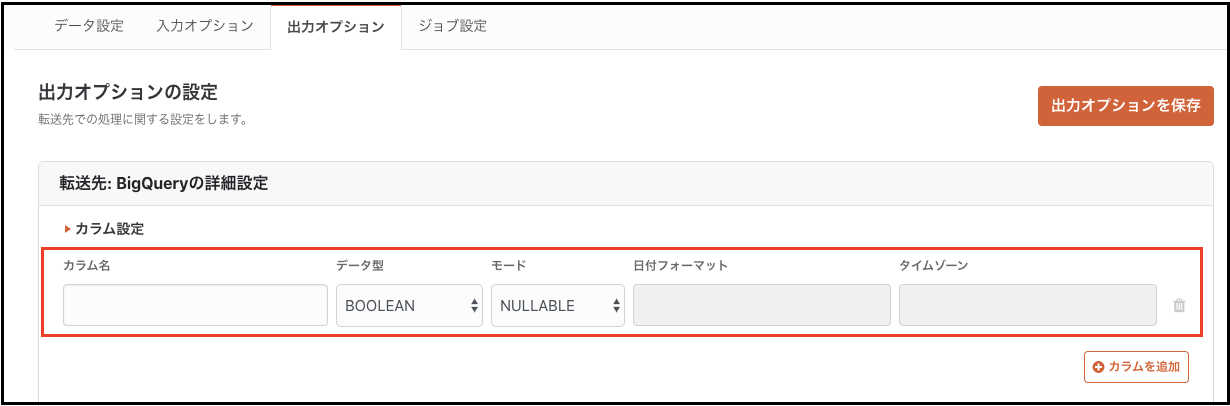
- The following settings are made for the added items.
- Column name:
. - Data type:
DATETIMEortimestamp*See Supplemental - Date format:
*Not required for some data types. - Time zone: JST
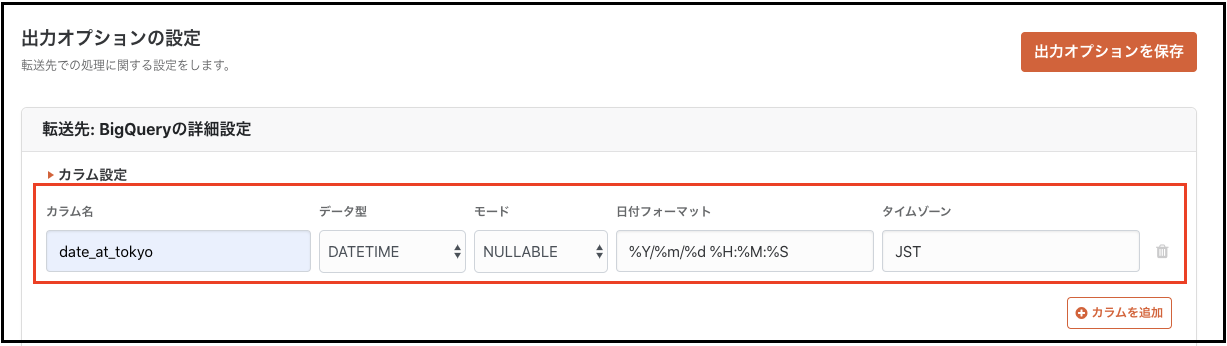
Click Output Option.
Please run the ETL Job and confirm that the data transfer took place in the time zone you specified.
If you have any other questions or concerns, please contact Customer Success.
supplement
If an ETL Job fails due to Data Type mismatch, it may be resolved by setting the Transfer Mode to REPLACE in the ETL Configuration of "STEP 1 Data Source and Destination Settings".
Was this article helpful?