STEP2 Preview data and make detailed settings
- 17 Jul 2024
- Print
- PDF
STEP2 Preview data and make detailed settings
- Updated on 17 Jul 2024
- Print
- PDF
Article summary
Did you find this summary helpful?
Thank you for your feedback
summary
This page describes Transfer Settings STEP 2 "Data Preview and Detailed Settings".
STEP2 Setting of "Data preview and detailed settings
In STEP 2, you can see a preview of the data to be transferred.
Then, detailed settings are made for the transferred data.
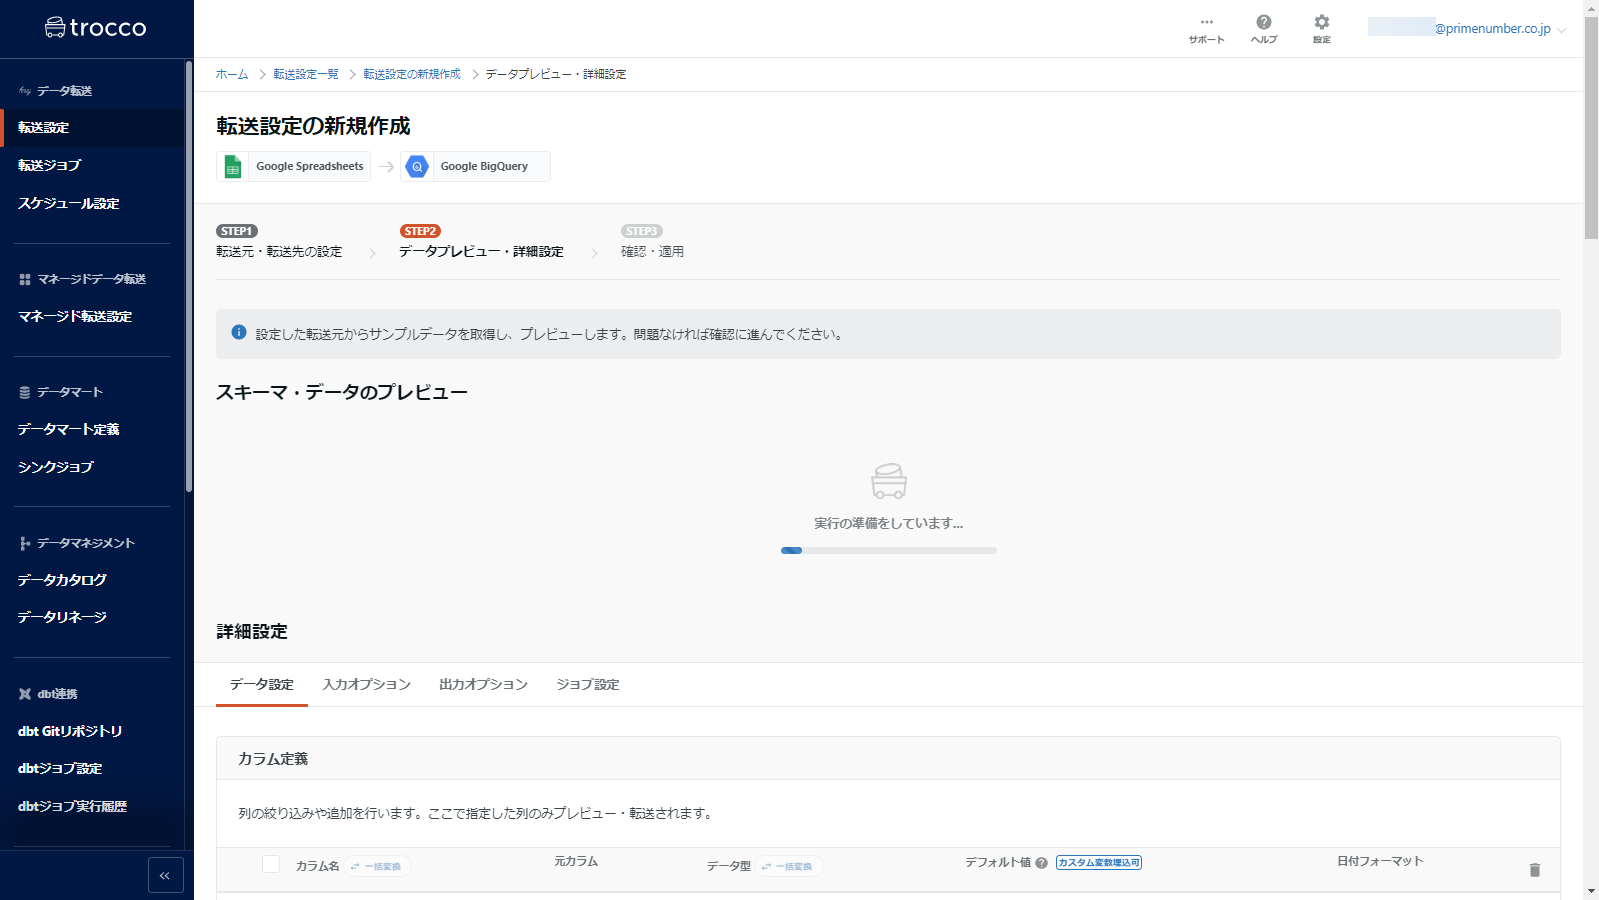
Schema Data Preview
Proceeding from STEP1 to STEP2, a preview of the transferred data is first created.
The preview shows the columns, data types, and values to be retrieved from the transfer source.
Time to create preview
Depending on the size of the data and other factors, it may take several minutes to create a preview.
- Preview in progress
- Preview creation complete
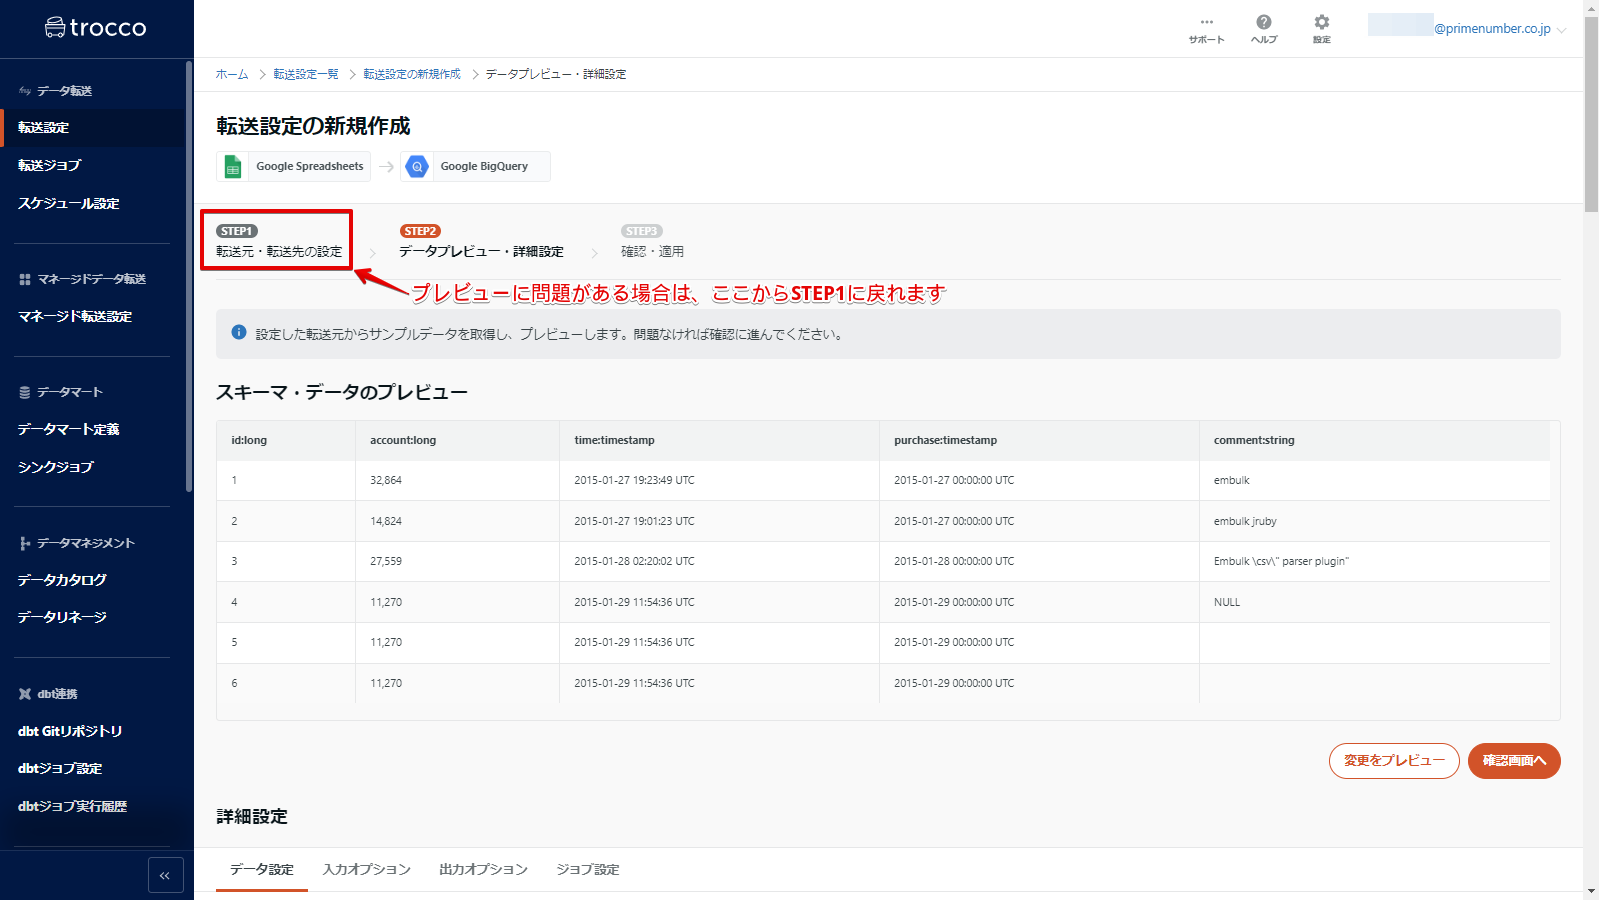


If the preview result is different from the data you want to get
Click on STEP1 Transfer source and destination settings at the top of the screen to set them up again.
If you go back to STEP1, modify the settings, and try to go to STEP2 again, the following dialog box will appear.
At this point, select Run automatic data setup, make your decision, and click Next.

Note that if you create the preview again in STEP2, the STEP2 settings you had made before returning to **STEP1 will be reset. **
Please note
Advanced Settings
In STEP 2, you can configure detailed settings related to the transferred data.
If you are satisfied with the preview, scroll down to the bottom for advanced settings.
The advanced settings are separated by the following four tabs

data configuration
Define each column, set filters, etc.
See Template ETL and Programming ETL for more information on the various settings on the Data Settings tab.
Input Options
Sets options for the forwarding source.
Note that the options that can be set vary depending on the source connector.
Output Options
Sets options for the forwarding destination.
Note that the options that can be set vary depending on the destination connector.
About file/storage system connectors
For setting items of input and output options related to file/storage system connectors, please refer to the following.
job setup
Configures settings related to jobs during data transfer.
Next Steps
Once you have completed the above settings, be sure to click****Preview Changes at the bottom of the page.
You must click Preview Changes for the settings to take effect.
Check the preview again and if all is well, click on the " Confirm" button.
Proceed to STEP3 Confirm and Apply.

Was this article helpful?