STEP3 Confirmation and application
- Print
- PDF
STEP3 Confirmation and application
- Print
- PDF
Article summary
Did you find this summary helpful?
Thank you for your feedback
summary
This page describes STEP 3 "Confirmation and Application.
Setting of "STEP3 Confirmation and Application
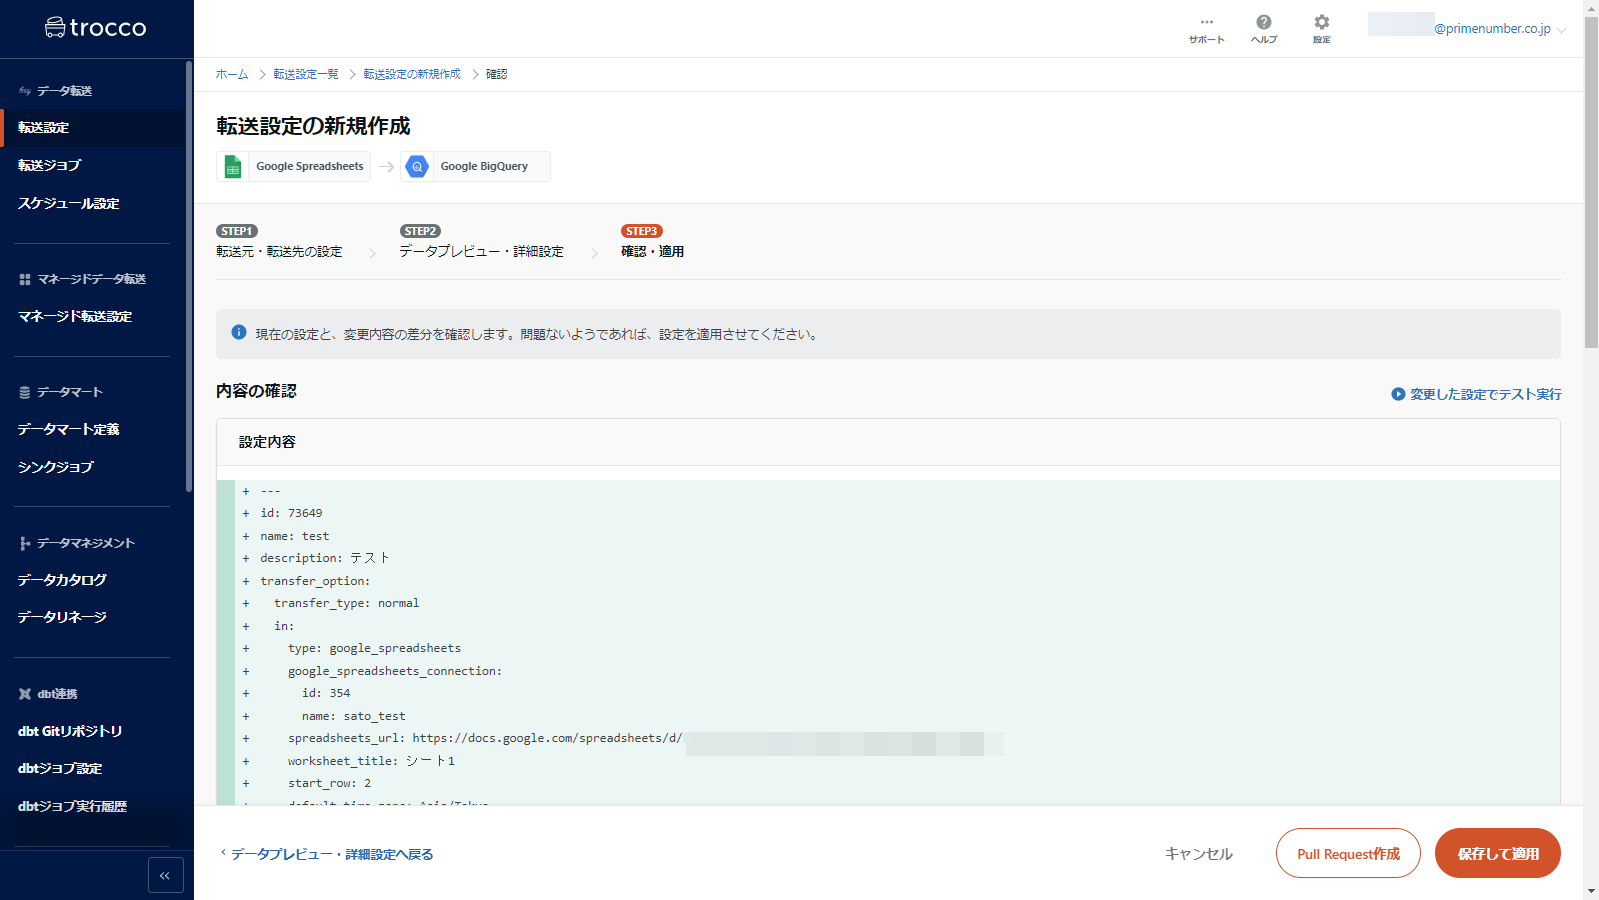
Here you will review the ETL Configuration and save the settings based on the information you have entered so far.
Confirmation of settings
Check the settings and if all is well, click Save and Apply.
Enter changes as needed and click Save & Apply
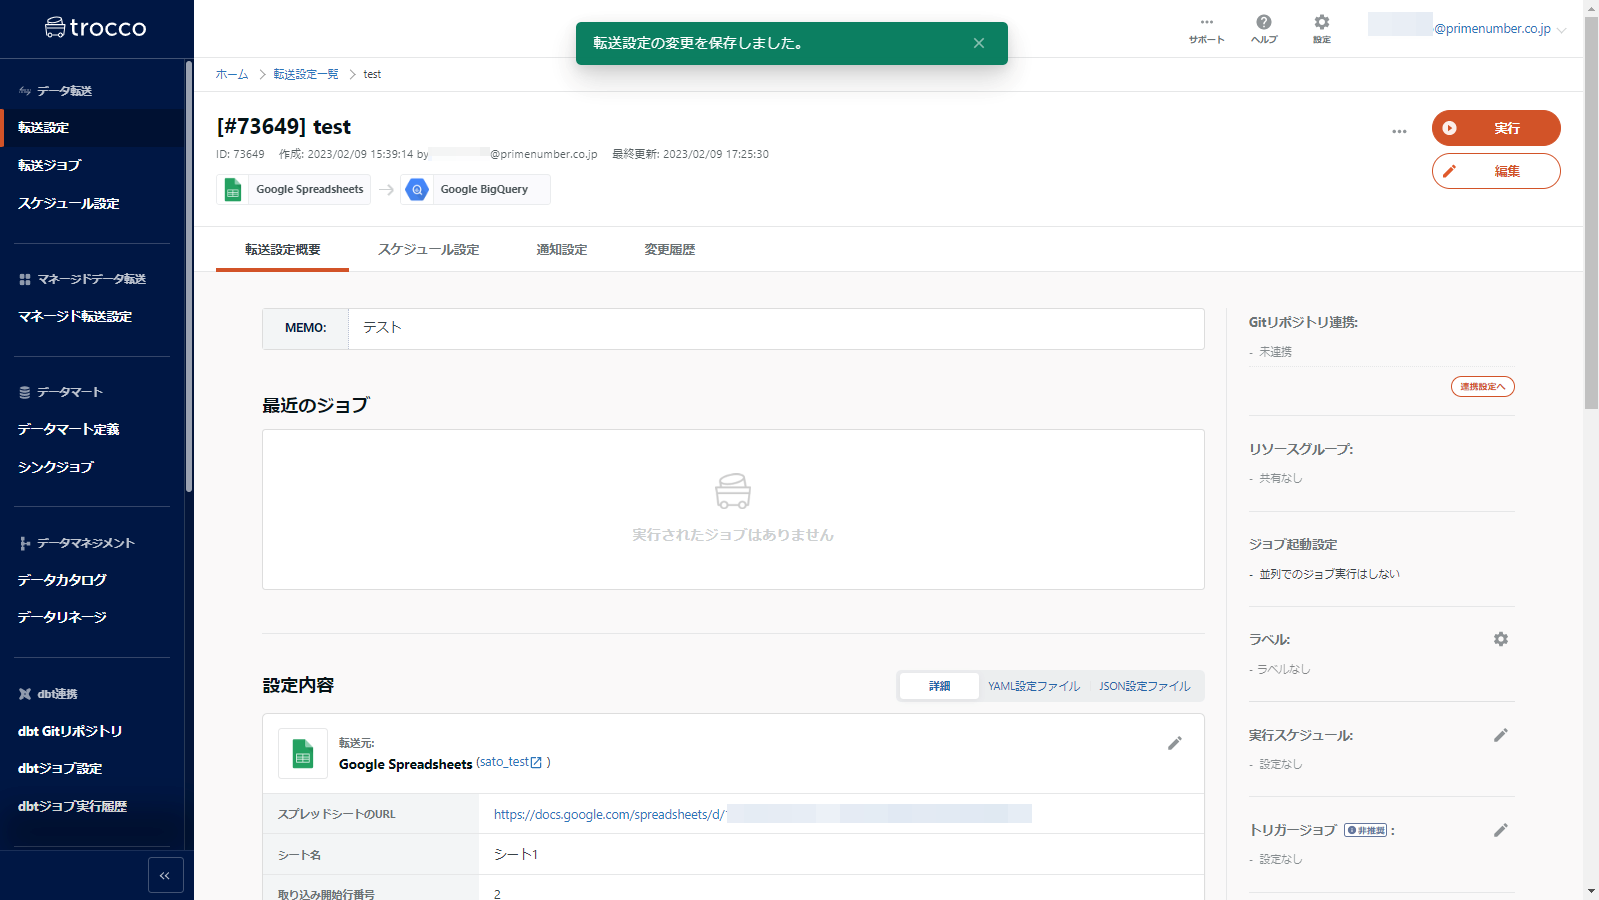
ETL Configuration is created.


Next Steps
If you want to transfer data using ETL Configuration, see Executing an ETL Job.
test run
For some Data Destinations, such as BigQuery, you can run a test to see if the configuration is correct by clicking on Run Test with the changed configuration.

- When the test run setup screen opens, click " Start Test Run" to perform the test.

You will return to the original confirmation screen and wait for a while until the test is completed.

If the test is completed and the transfer is successful, the message "SUCCEEDED" is displayed as shown in the red box.
*If the test fails, check the setting information in STEP1 and STEP2 and set up again.

- When you are satisfied that the test was successful, click Save Settings at the bottom of the screen.

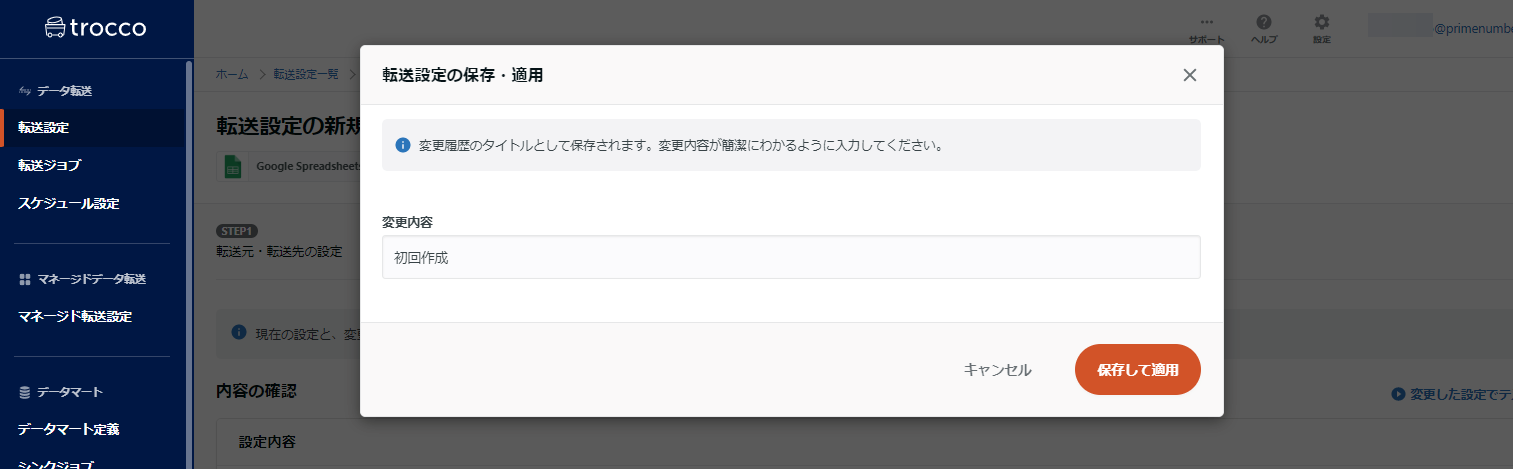
Finally, the Save ETL Configuration screen will appear, click Save and Apply to finish.

Was this article helpful?