summary
TROCCO can transfer data to acquire data from an external service, process it, and send it to other external services.
The service from which data is acquired is called a “transfer source connector,” and the service at the transmission destination is called a “transfer destination connector.”
This section describes the procedure for creating transfer settings and running transfer jobs.
Select transfer source/destination connectors
On the home screen, click Add New Transfer Settings.
Select each service you want to specify as the transfer source/destination connector, and then click Create with these details.
STEP1 Transfer Source/Transfer Destination Settings
Follow the instructions on the screen and enter each setting item.
Overview settings
- names
- Type the name of the transfer configuration you want to create.
- e.g. Names that give an overview of the data to be transferred, etc.
- If you give it a name that follows a naming convention, it will be easier to search and manage.
- Type the name of the transfer configuration you want to create.
- memo
- You can freely enter notes about the transfer settings.
Transfer source/destination connector settings
The settings vary from service to service.
For more information, click Help on this topic and go to the relevant service's help page.
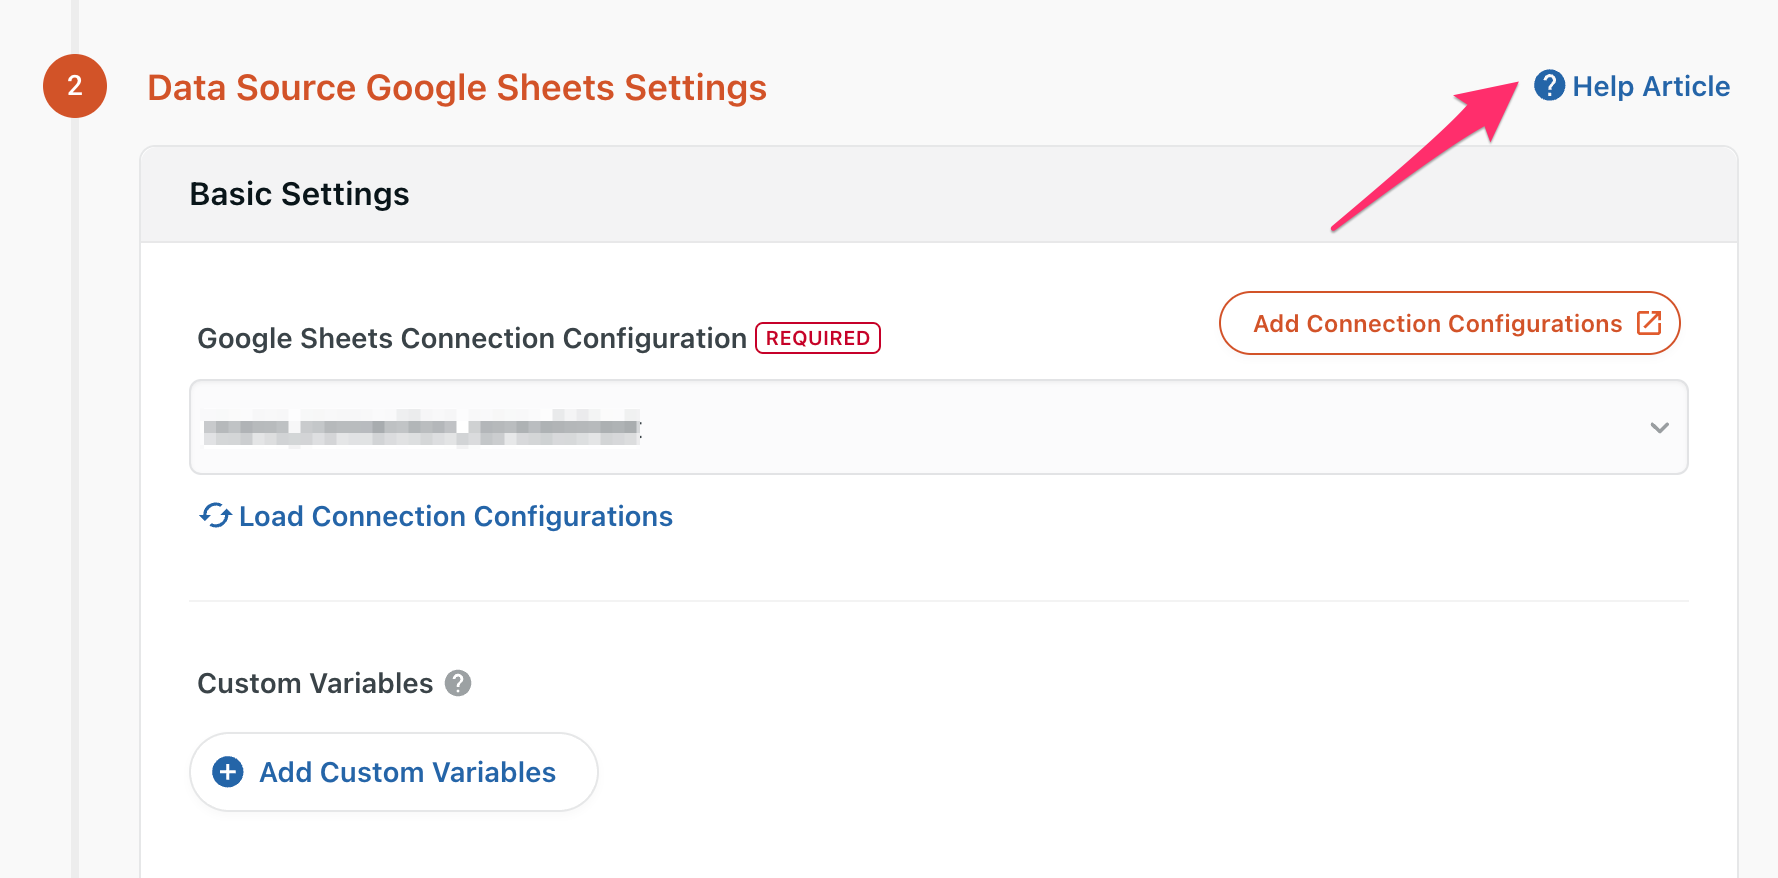
It is a variable that can be embedded in configuration items, and values can be dynamically expanded during job execution.
For more information, see About Custom Variables.
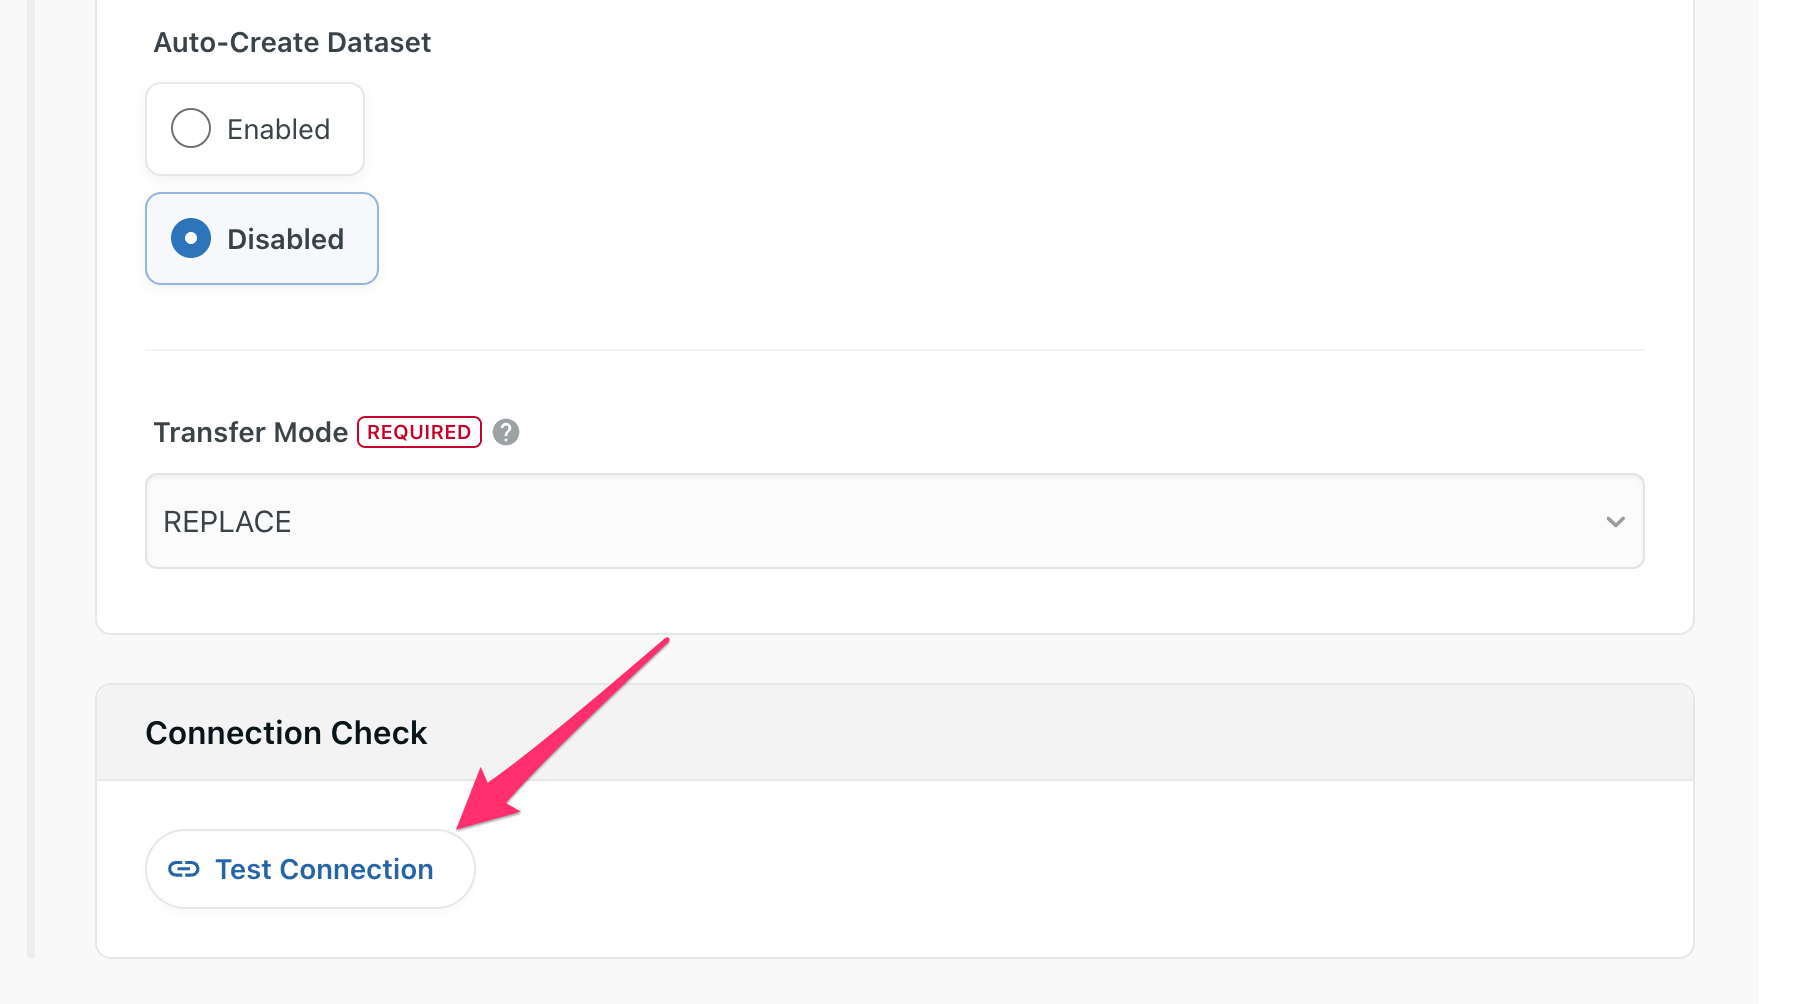
For some services, you can test whether you can connect correctly using the settings information you entered by clicking Check Connection.
If an error occurs, check the details and correct the settings.
STEP2 data preview/advanced settings
1. Preview schema data
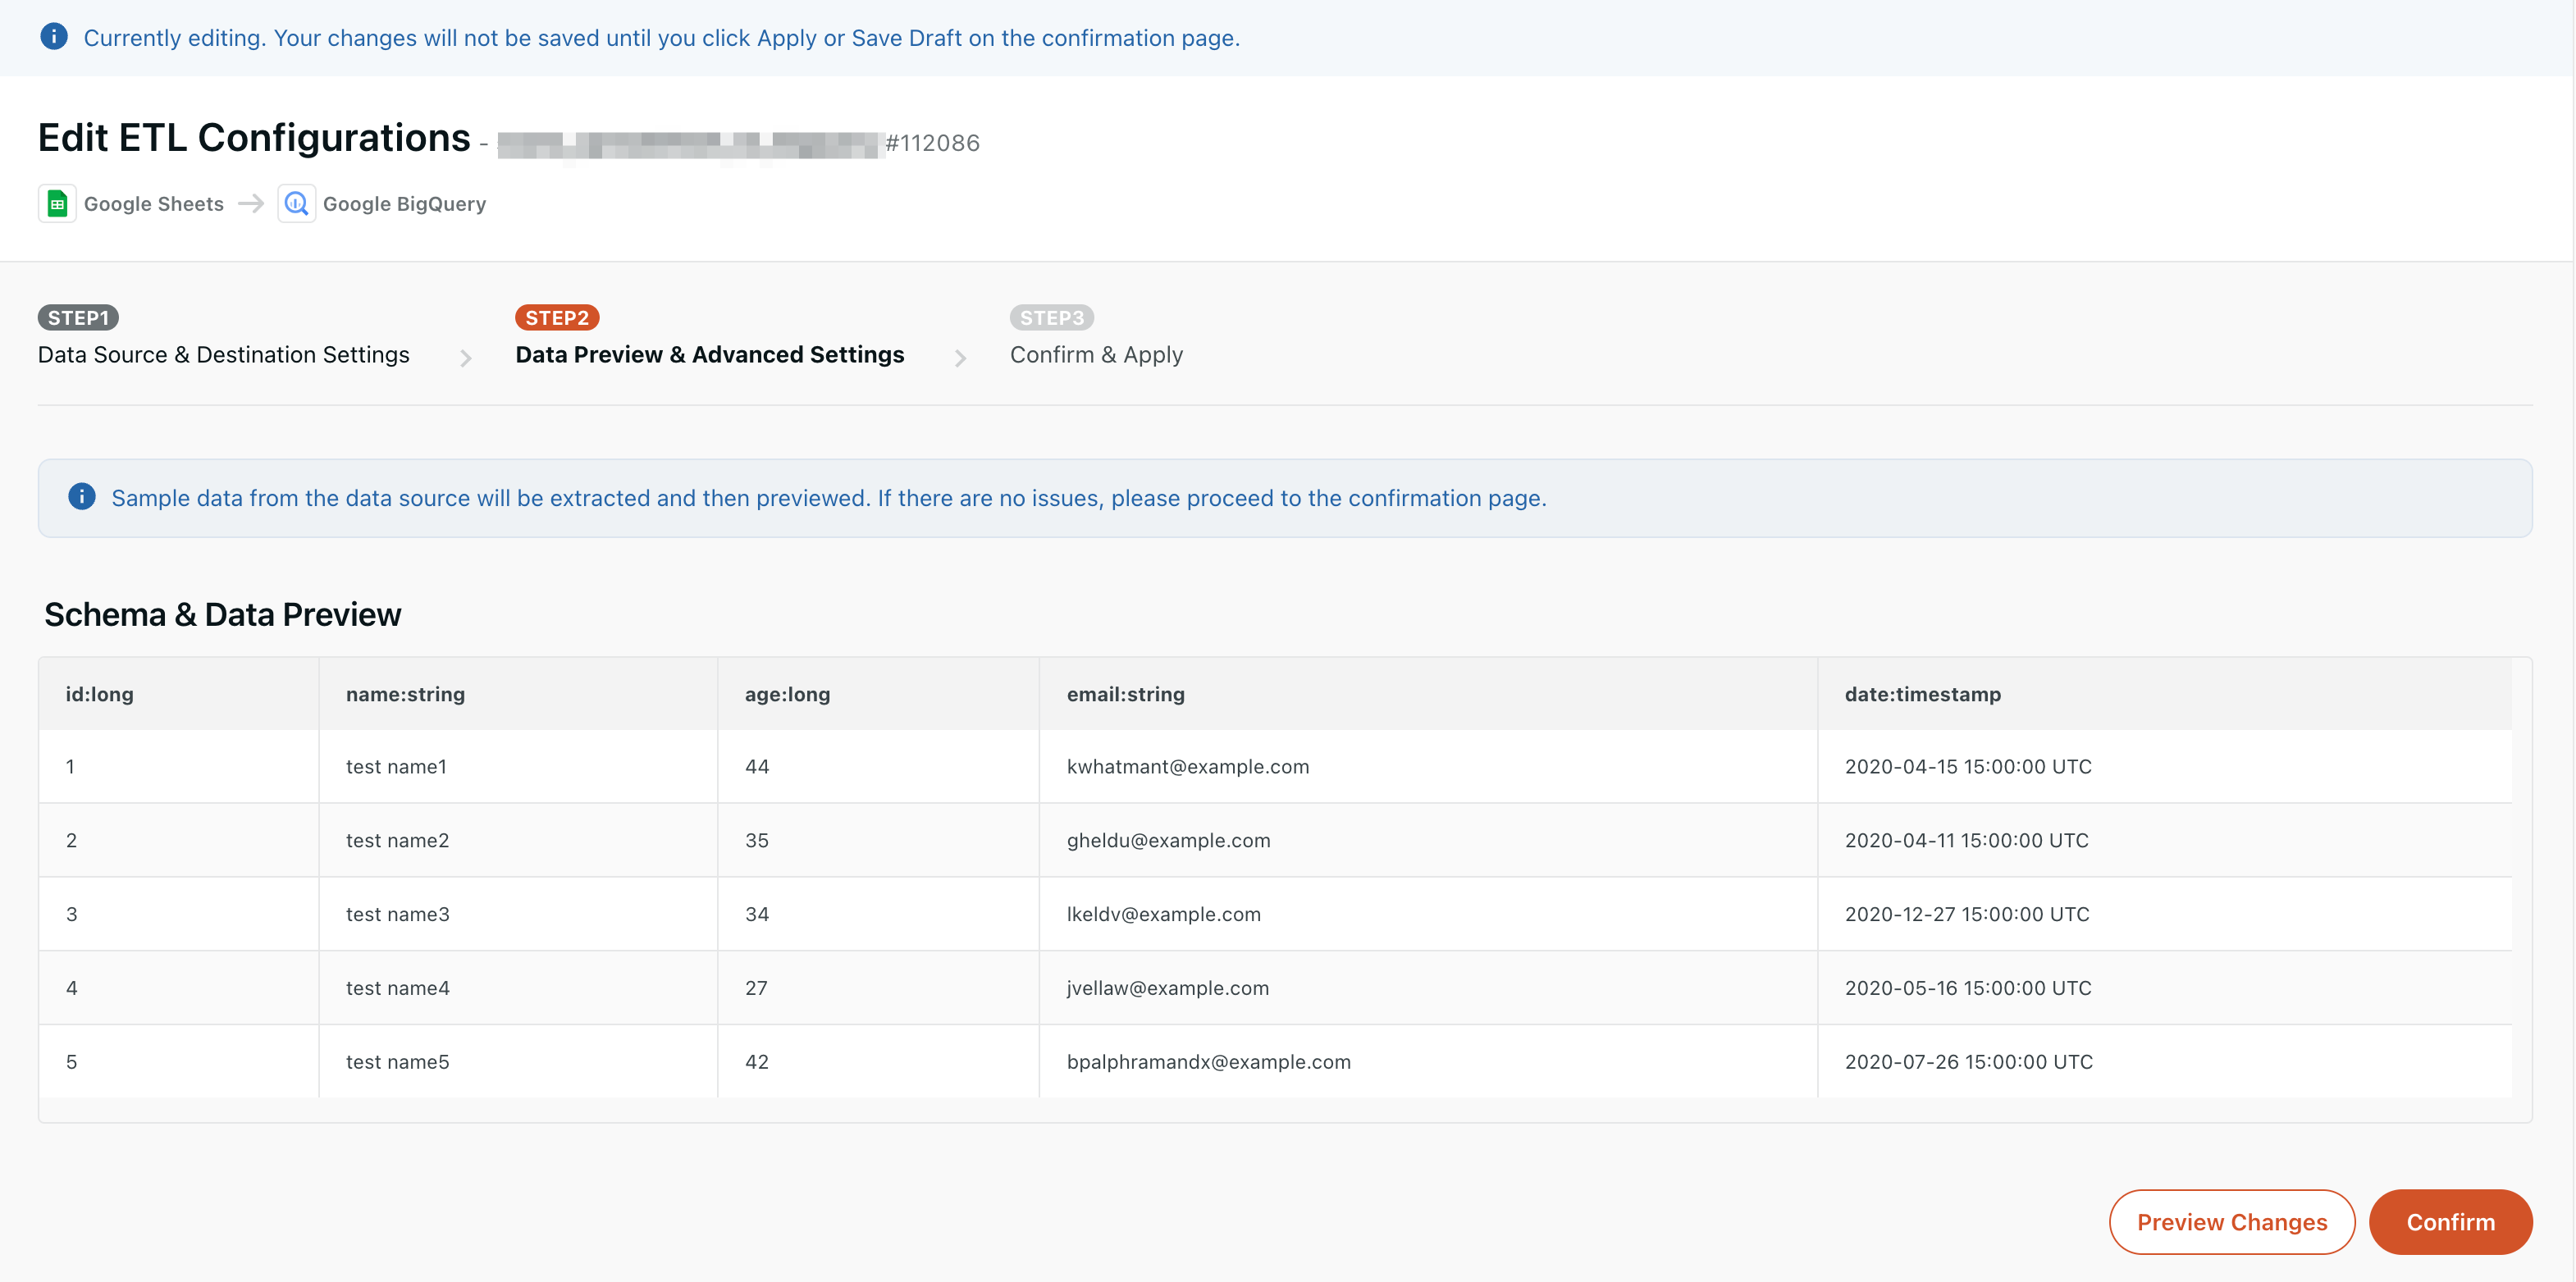
When you proceed from STEP1 to STEP2, a preview of the transferred data is automatically created.
In the preview, you can check the columns, data types, and values obtained from the transfer source service.
Depending on the size of the data, it may take a few minutes to create a preview.
Please wait until it is completed without any operation.
Even if you edit STEP 2 settings while creating a preview, they will not be reflected.
Preview created
Preview creation error
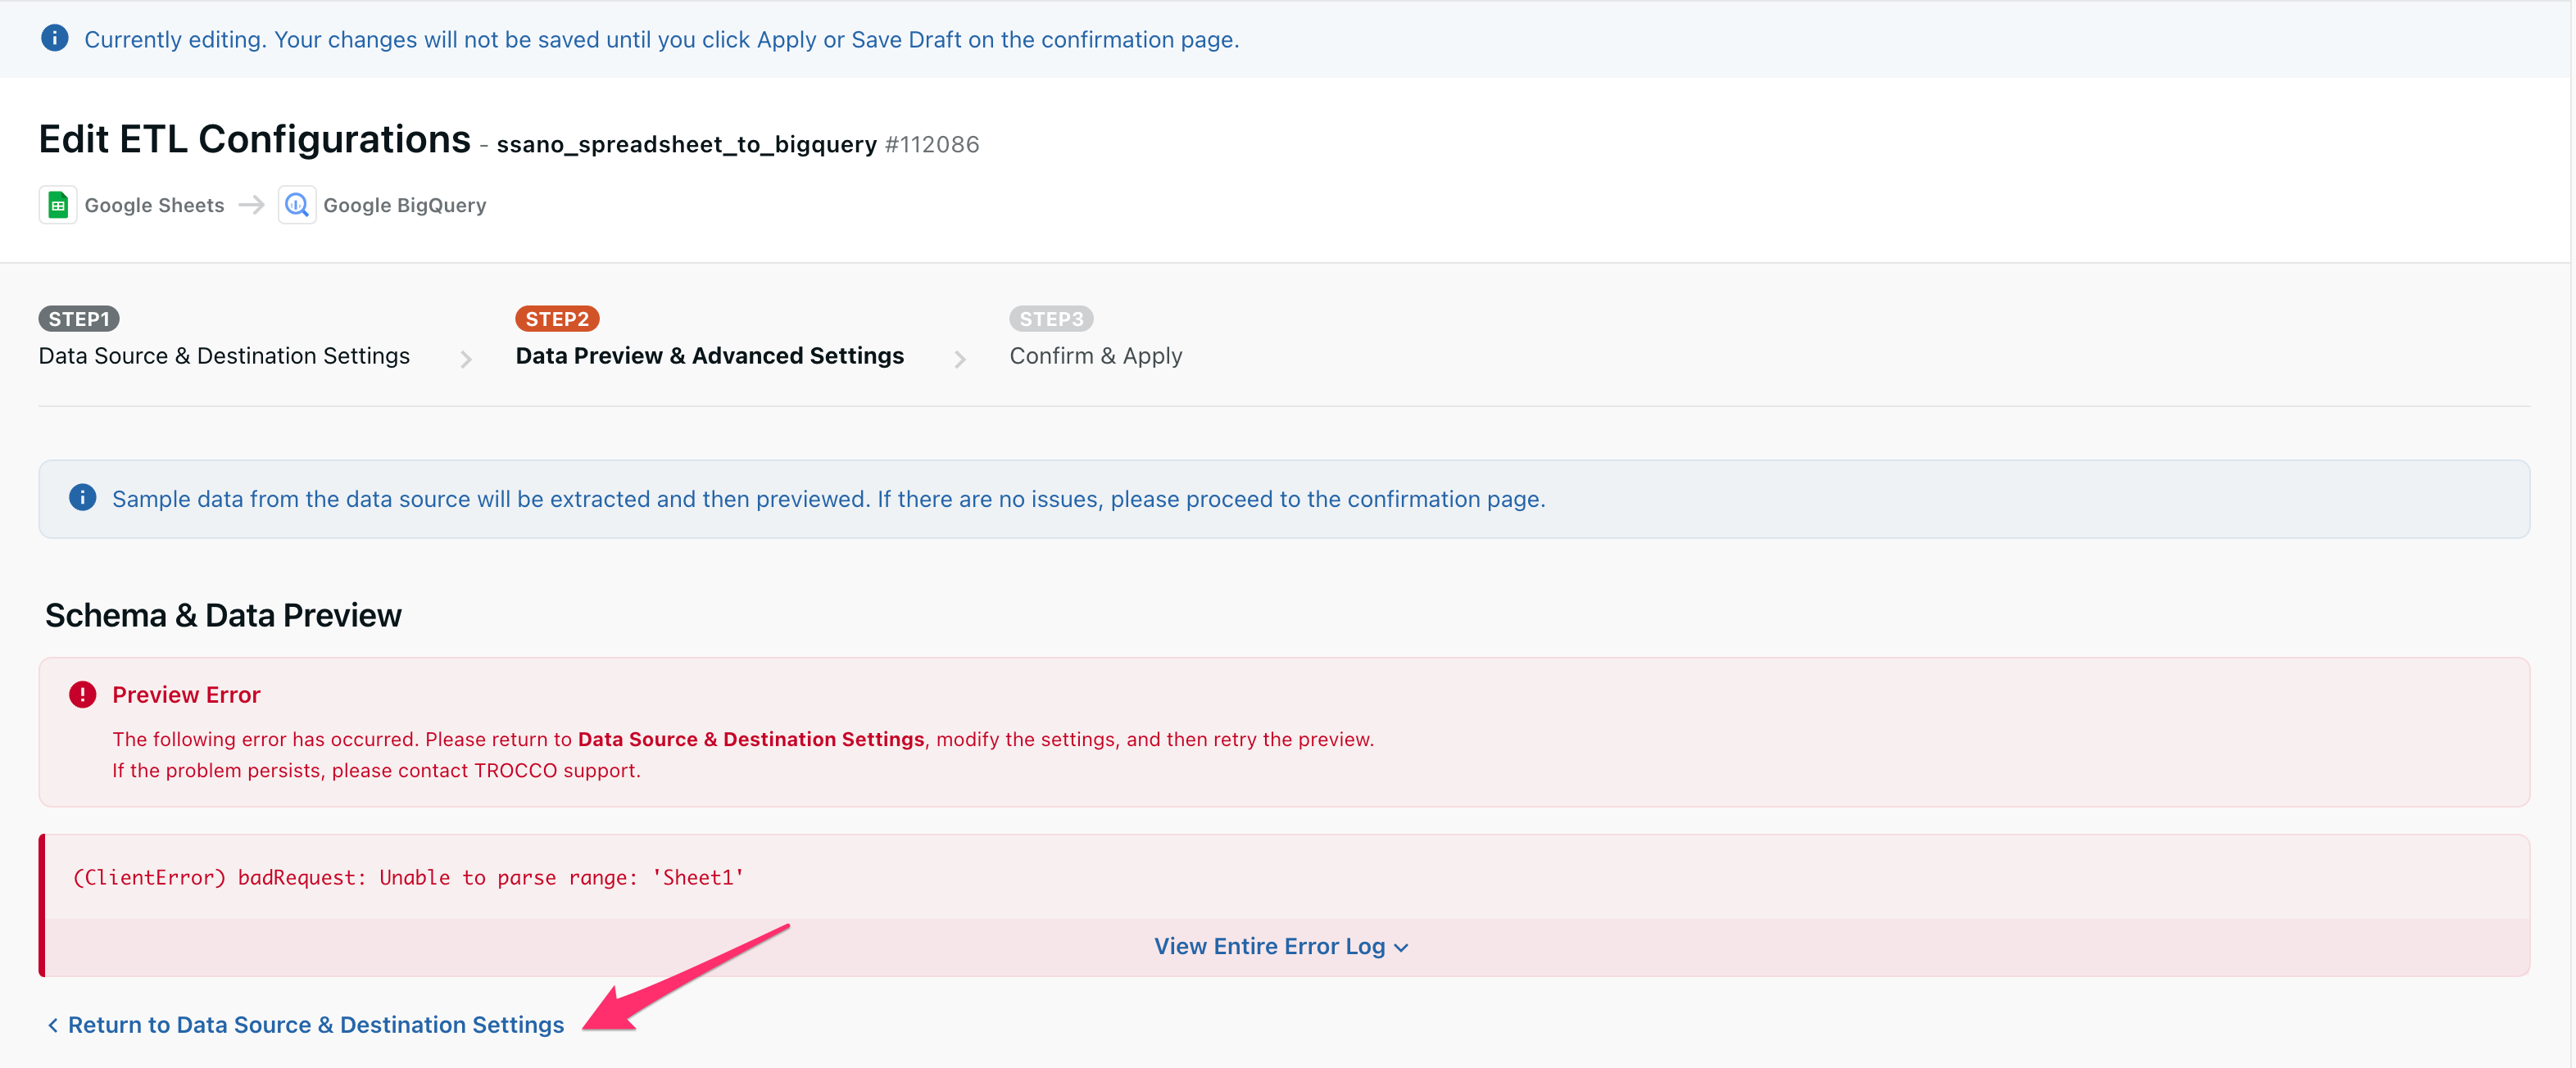
Click Back to Transfer Source/Destination Settings to return to STEP 1.
Check that there are no problems with the source connector settings or the connection information settings set to the source connector, and then correct them.
Please refer to the FAQ for details of the error.
When you correct the settings and go back to STEP 2, a dialog will be displayed.
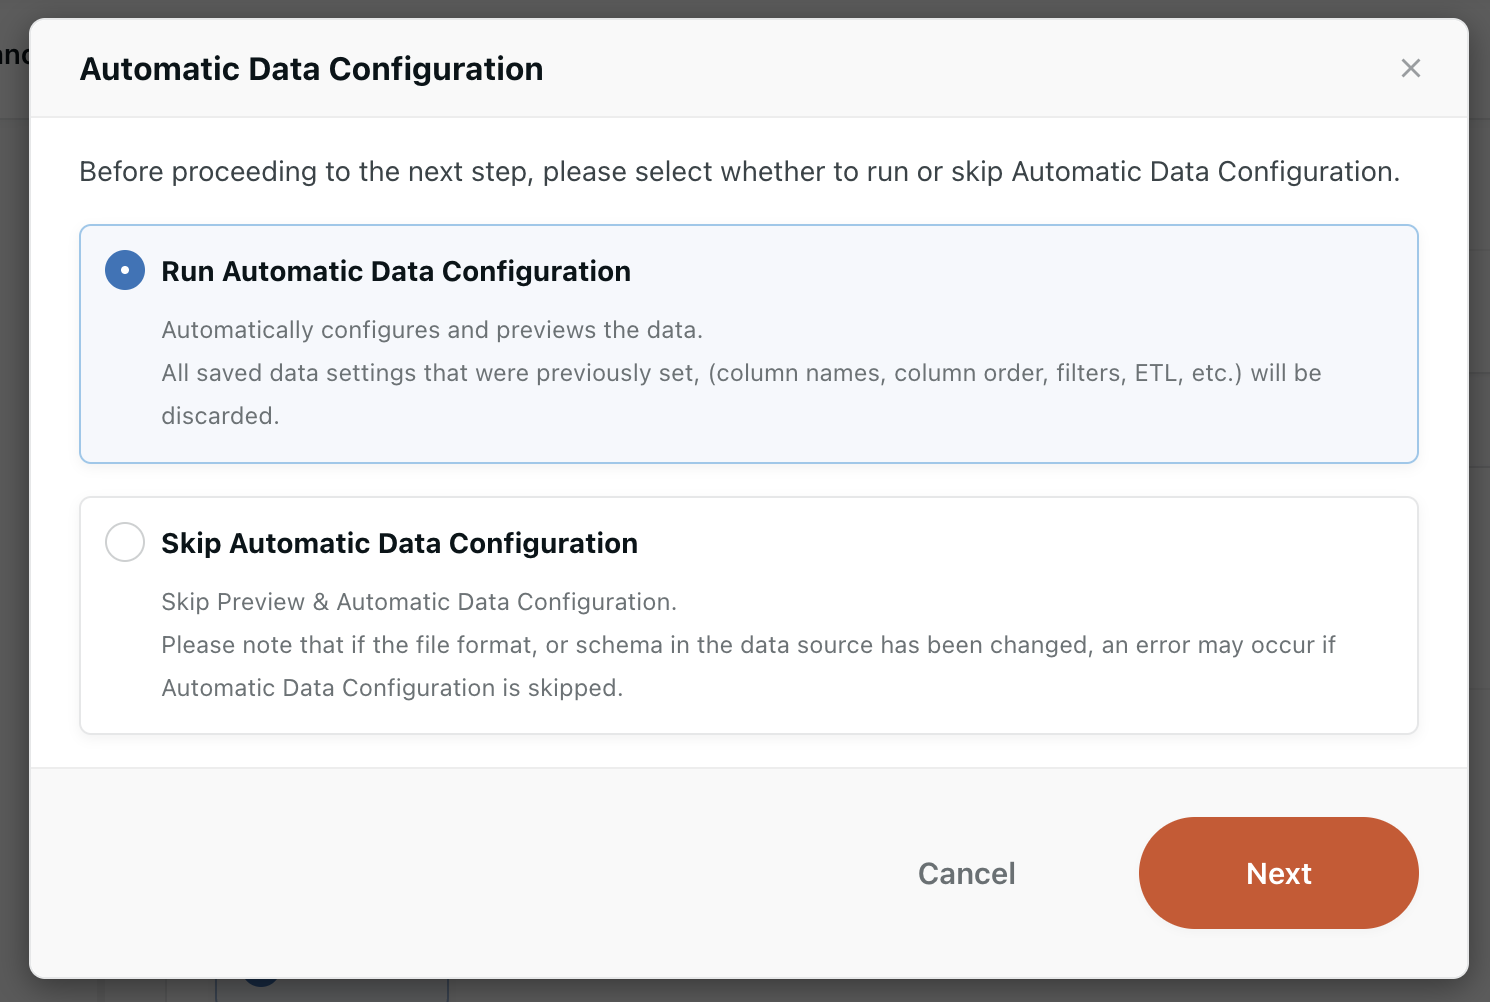
Select Run automatic data setup, confirm and click Next.
Note that if you create the preview again in STEP 2, the STEP 2 settings that were set before returning to STEP 1 will be reset.
Please be careful.
2. column definition
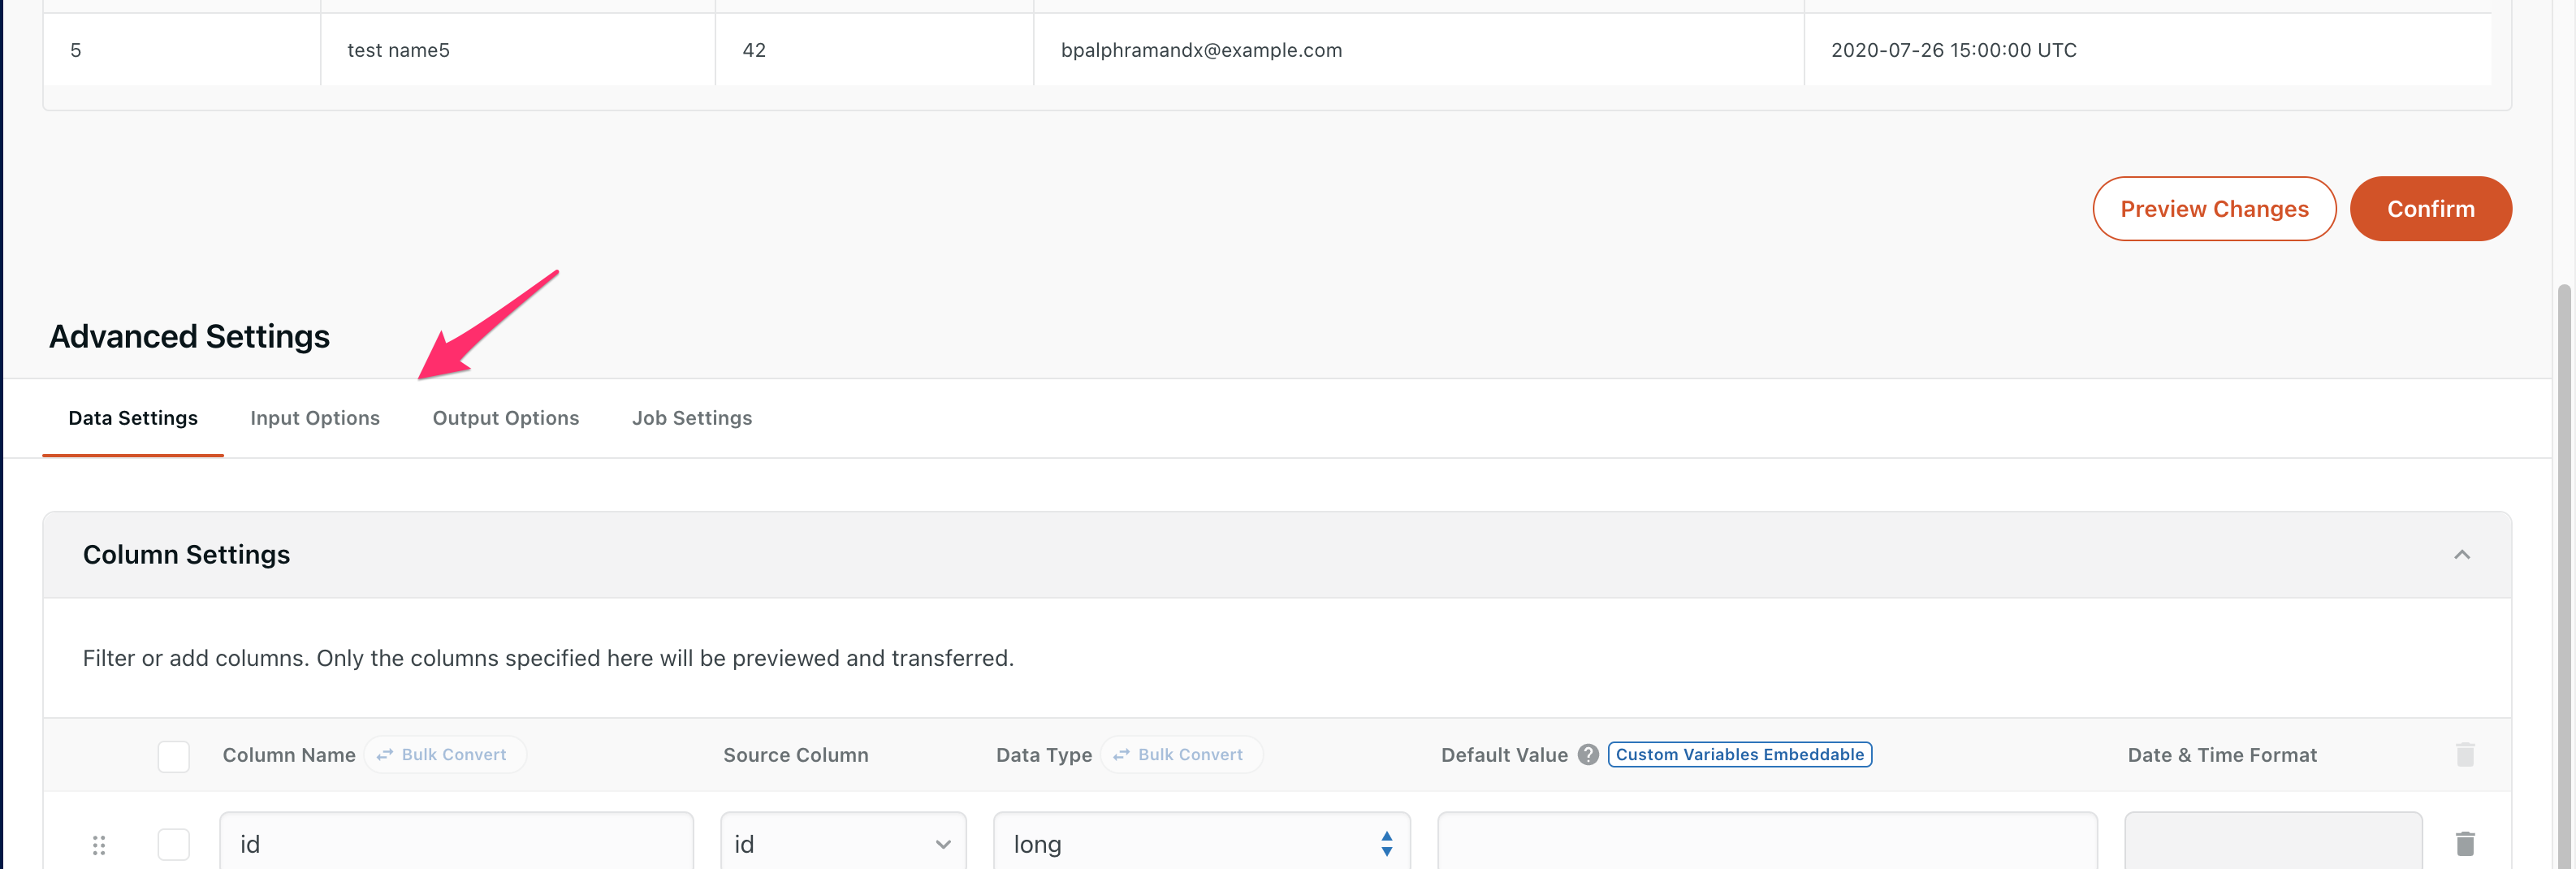
Each column can be defined, such as adding/deleting columns to be actually transferred, changing column names, etc.
Edit the column definitions as needed.
About other advanced settings
- Data settings
- For settings other than column definitions, see Template ETL and Programming ETL.
- input options
- Set options for the source connector. The options you can set depend on the Data Source Connectors.
- output options
- Set options for the destination connector. The options you can set depend on the Data Destination Connectors.
- Job settings
- Set the job for data transfer.
Each setting can be switched with a tab.
3. Check the preview
Once the settings are complete, click Preview the changes.
If you don't click it, the changes won't be reflected in the settings.
If there are no issues with the preview, click Go to the confirmation screen.
Confirm and apply STEP3
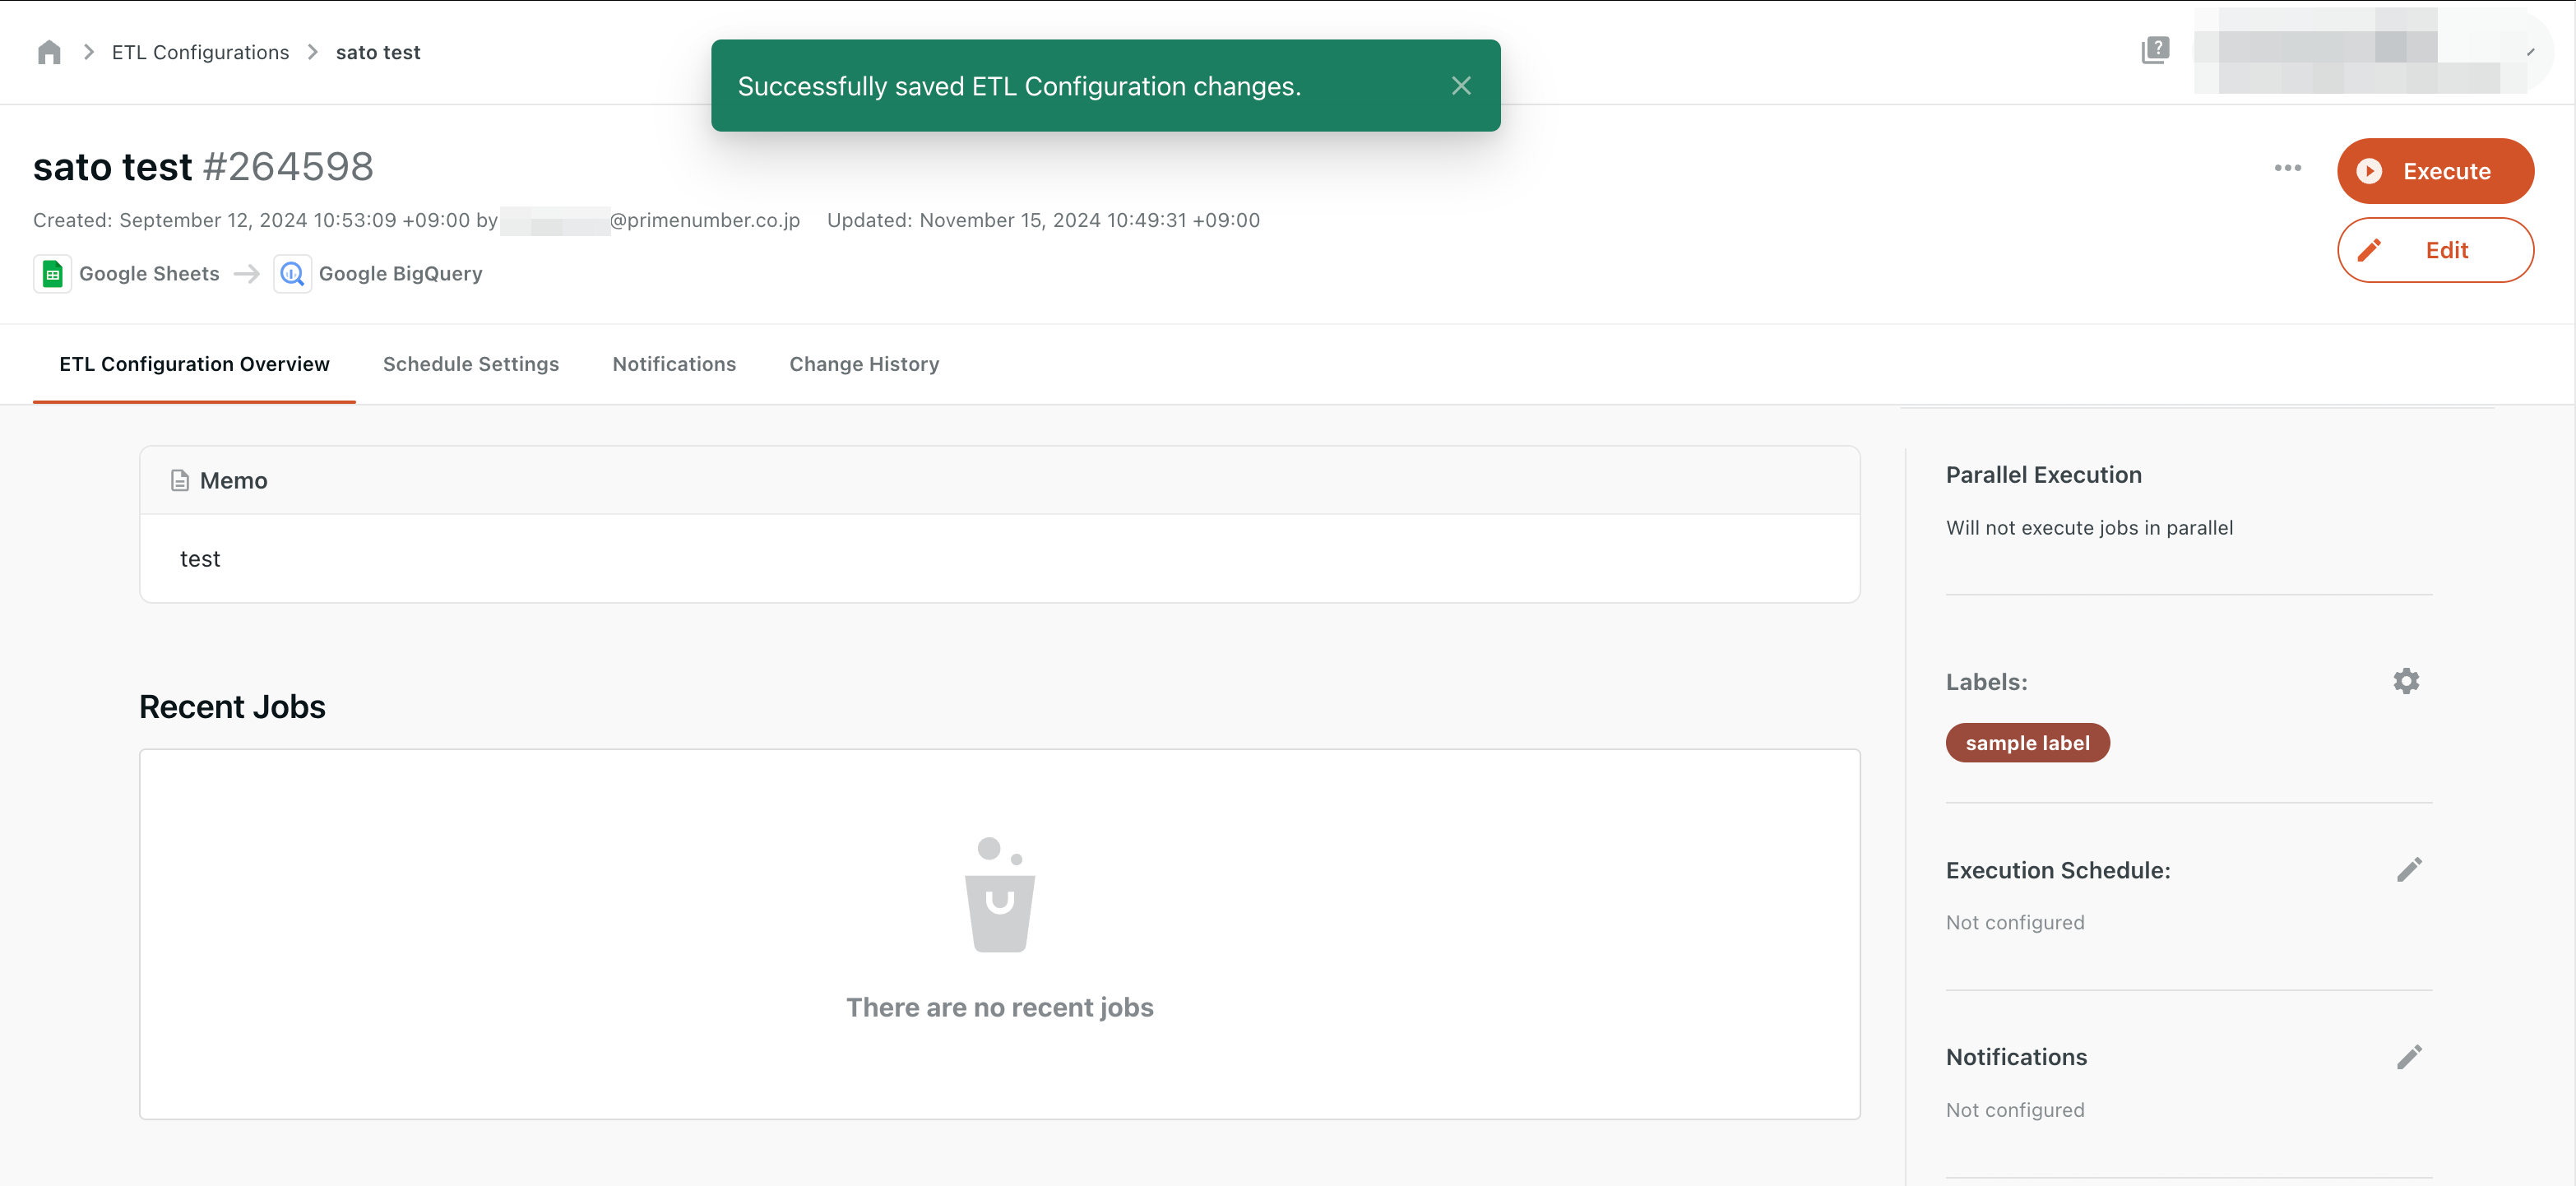
Check the details of the transfer settings you created, and then click Save and Apply.
The transfer settings are created, and you are taken to the transfer settings details screen.
Execute the transfer job and check the results
Run transfer jobs
On the Transfer Settings Details screen, click Execute.
The job execution settings screen is displayed, so click Execute.
If you set a custom variable in STEP 1, select the custom variable expansion method.
For details, see How to Expand Custom Variables.
As an example, if the transfer source is a database/storage system and the transfer destination is a data warehouse, approximately 12 million rows of data can be transferred in 1 hour.
However, the number of records that can be transferred varies depending on the number of columns and transfer size.
Also, since it depends on the specifications of the data acquisition source/destination service, actual speeds may vary.
Please consider this as a guide only.
Please wait until the job is completed.
Once the status changes to SUCCESS, the data transfer is complete.
Check the error message or execution log, and correct the transfer settings.
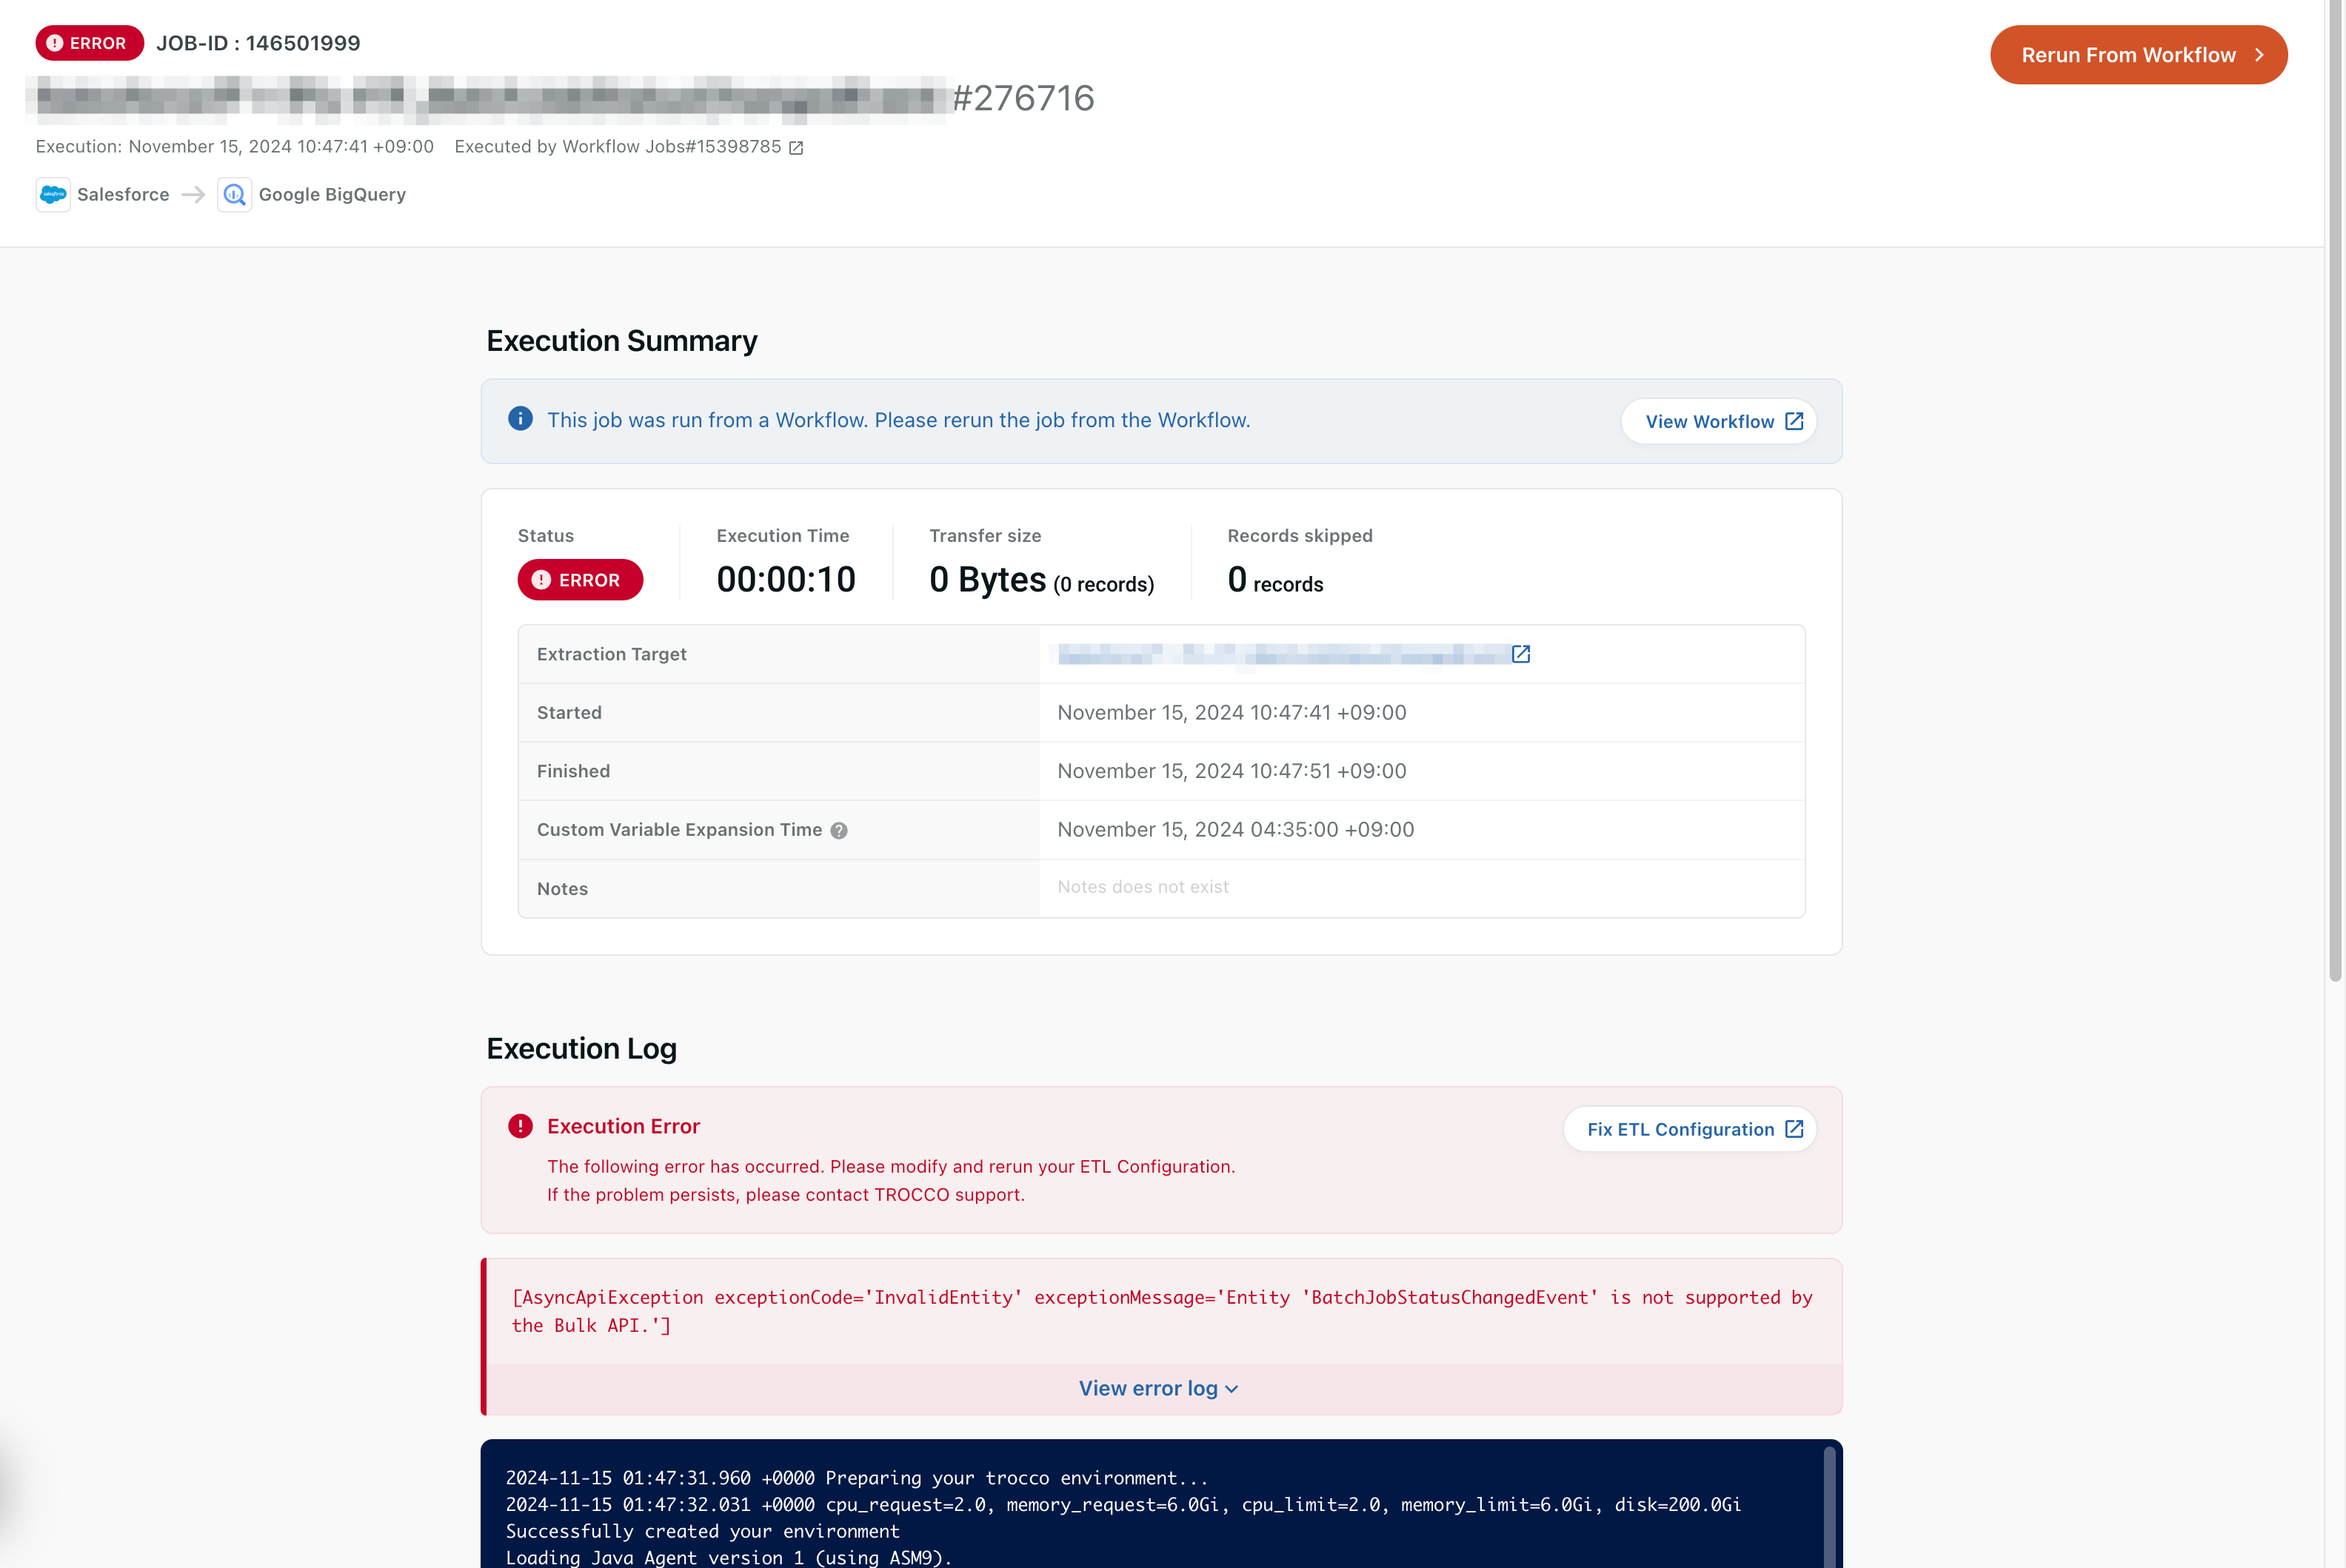
Please refer to the FAQ section for details of the error.
If it's not described above and you're unable to determine the cause of the error, please contact Customer Success.
Check transfer job results
Once the data transfer is complete, check the number of records and bytes to confirm that the intended data transfer was carried out.
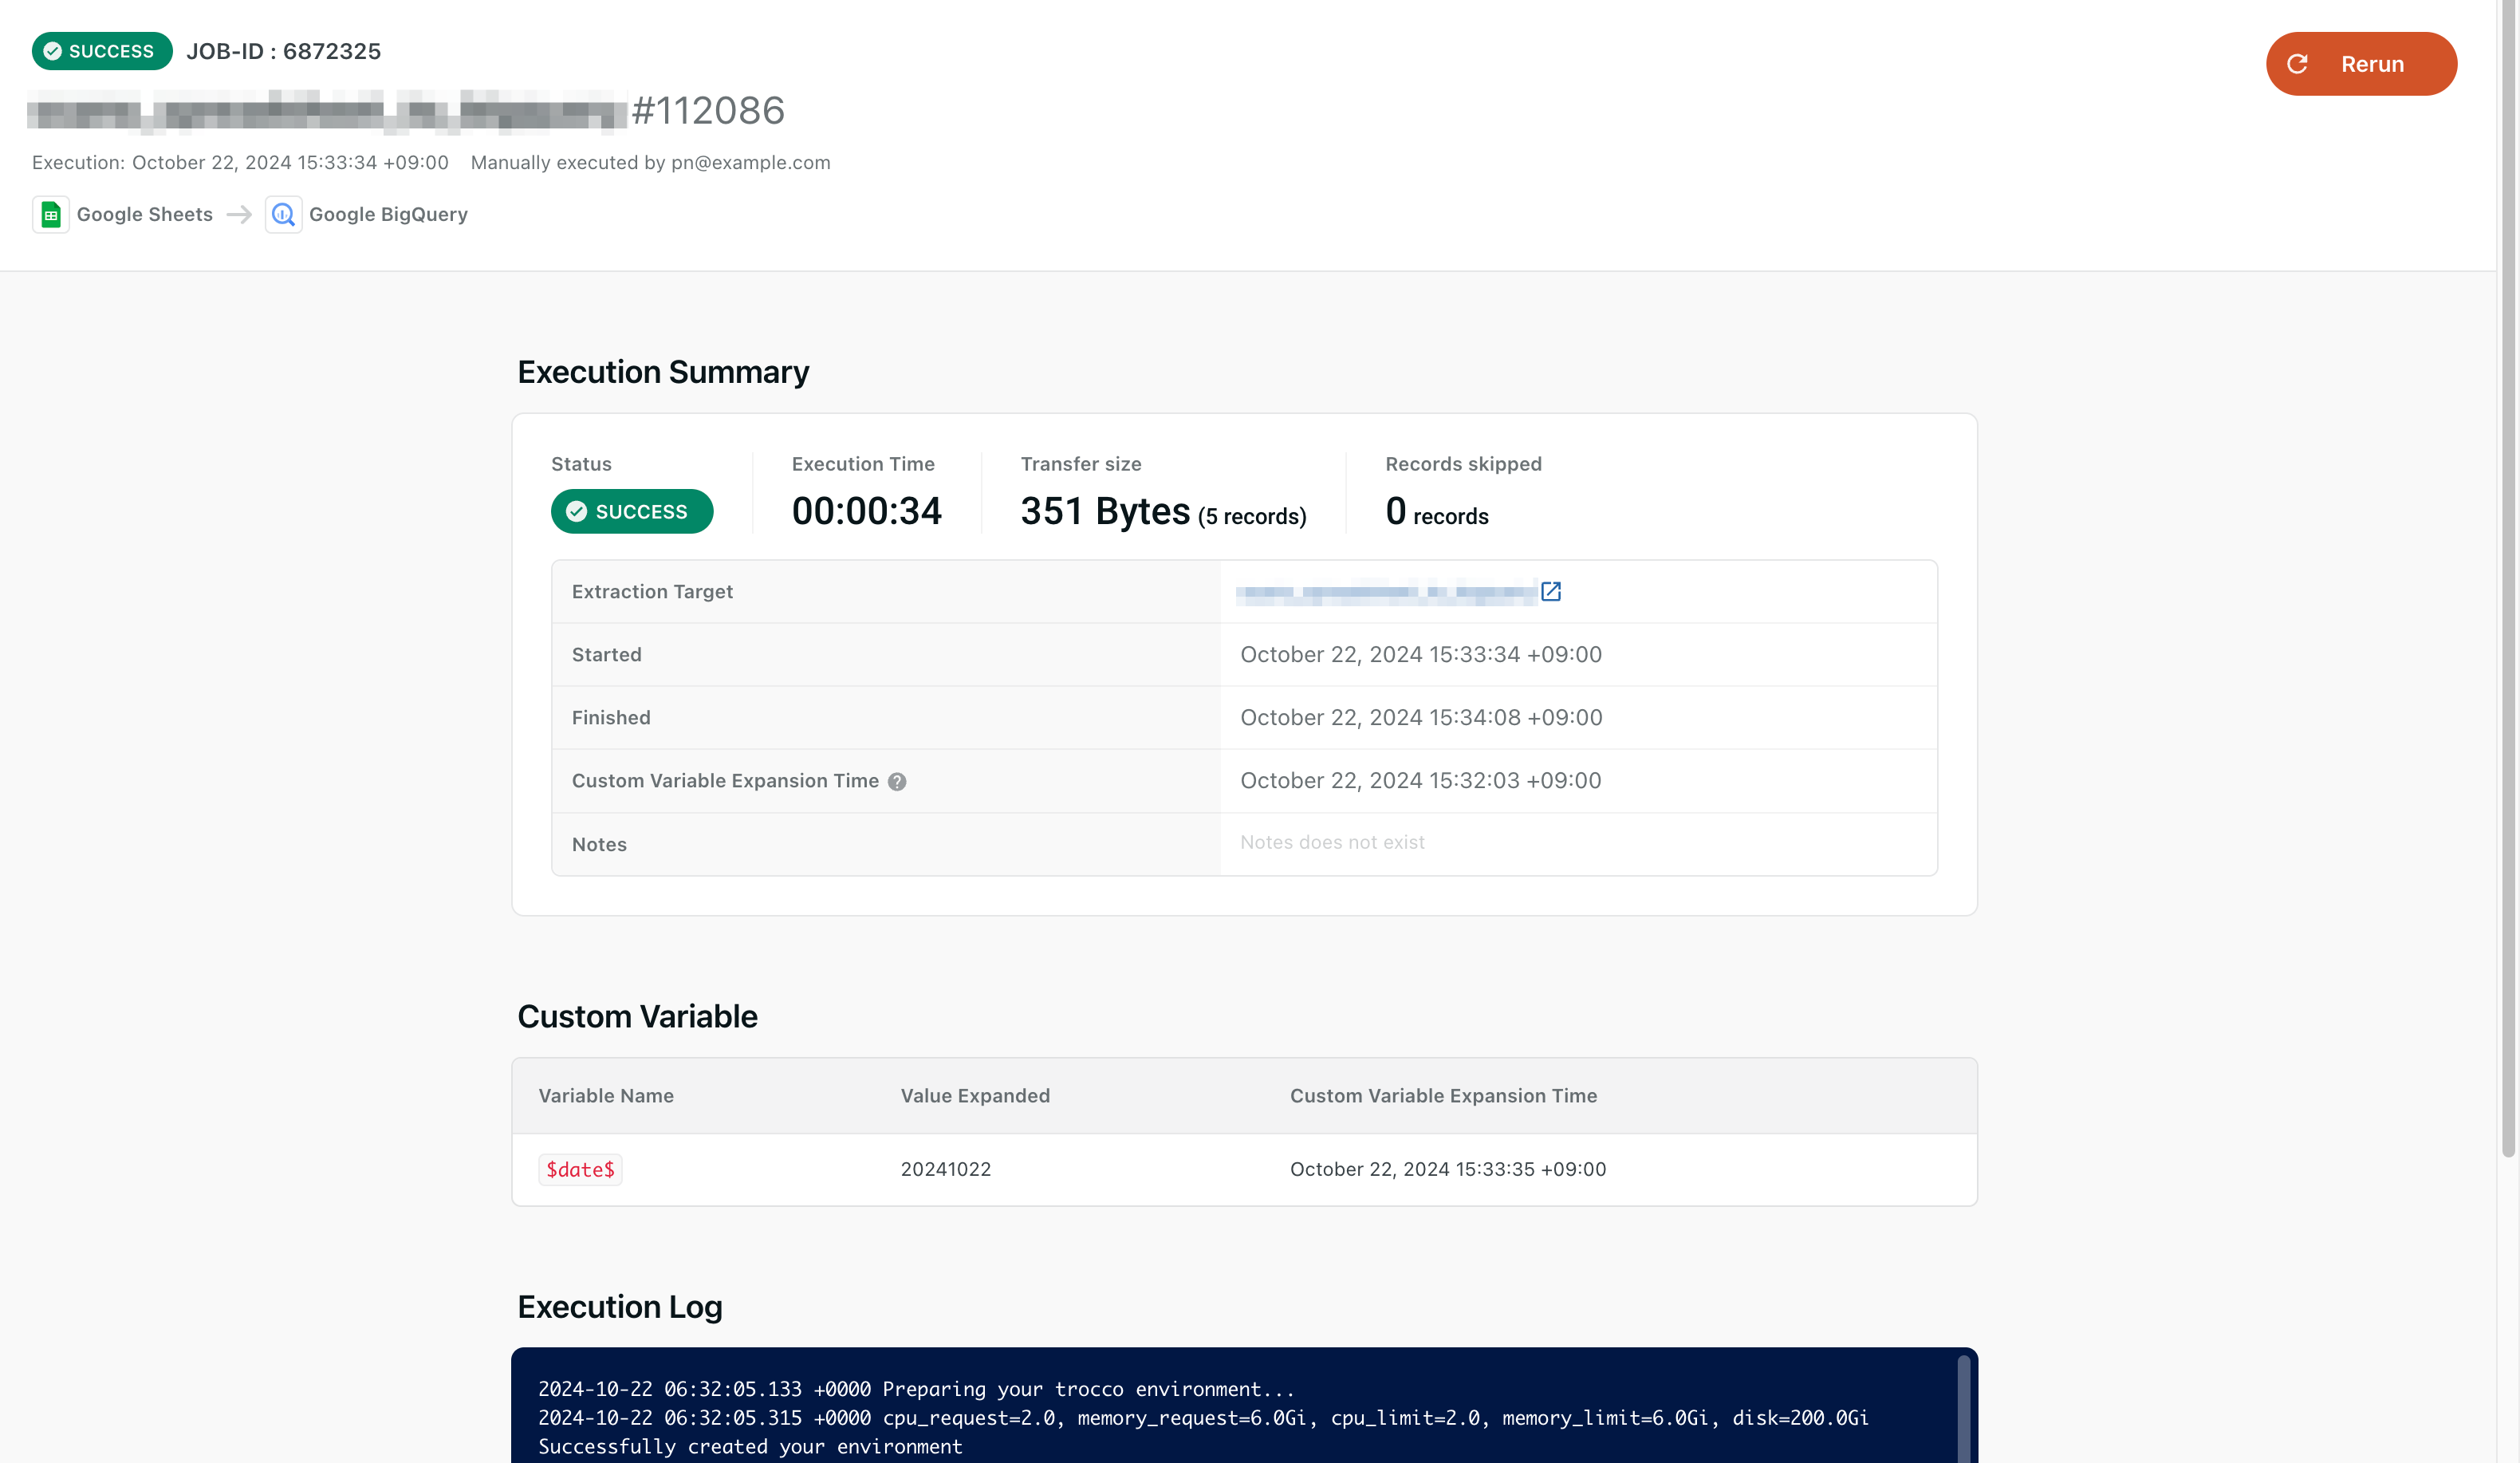
- Execution summary
- The status of the executed transfer job, the time required for the transfer, and the amount of data transferred are displayed.
- execution log
- Shows the log when the transfer was executed.
- rerun
- Run the transfer job again. If you want to run the transfer job again, such as when the transfer job fails, click here.
Please consider using Team Functions.
Multiple members can share and manage various settings such as transfer settings and connection information safely and efficiently.