Summary
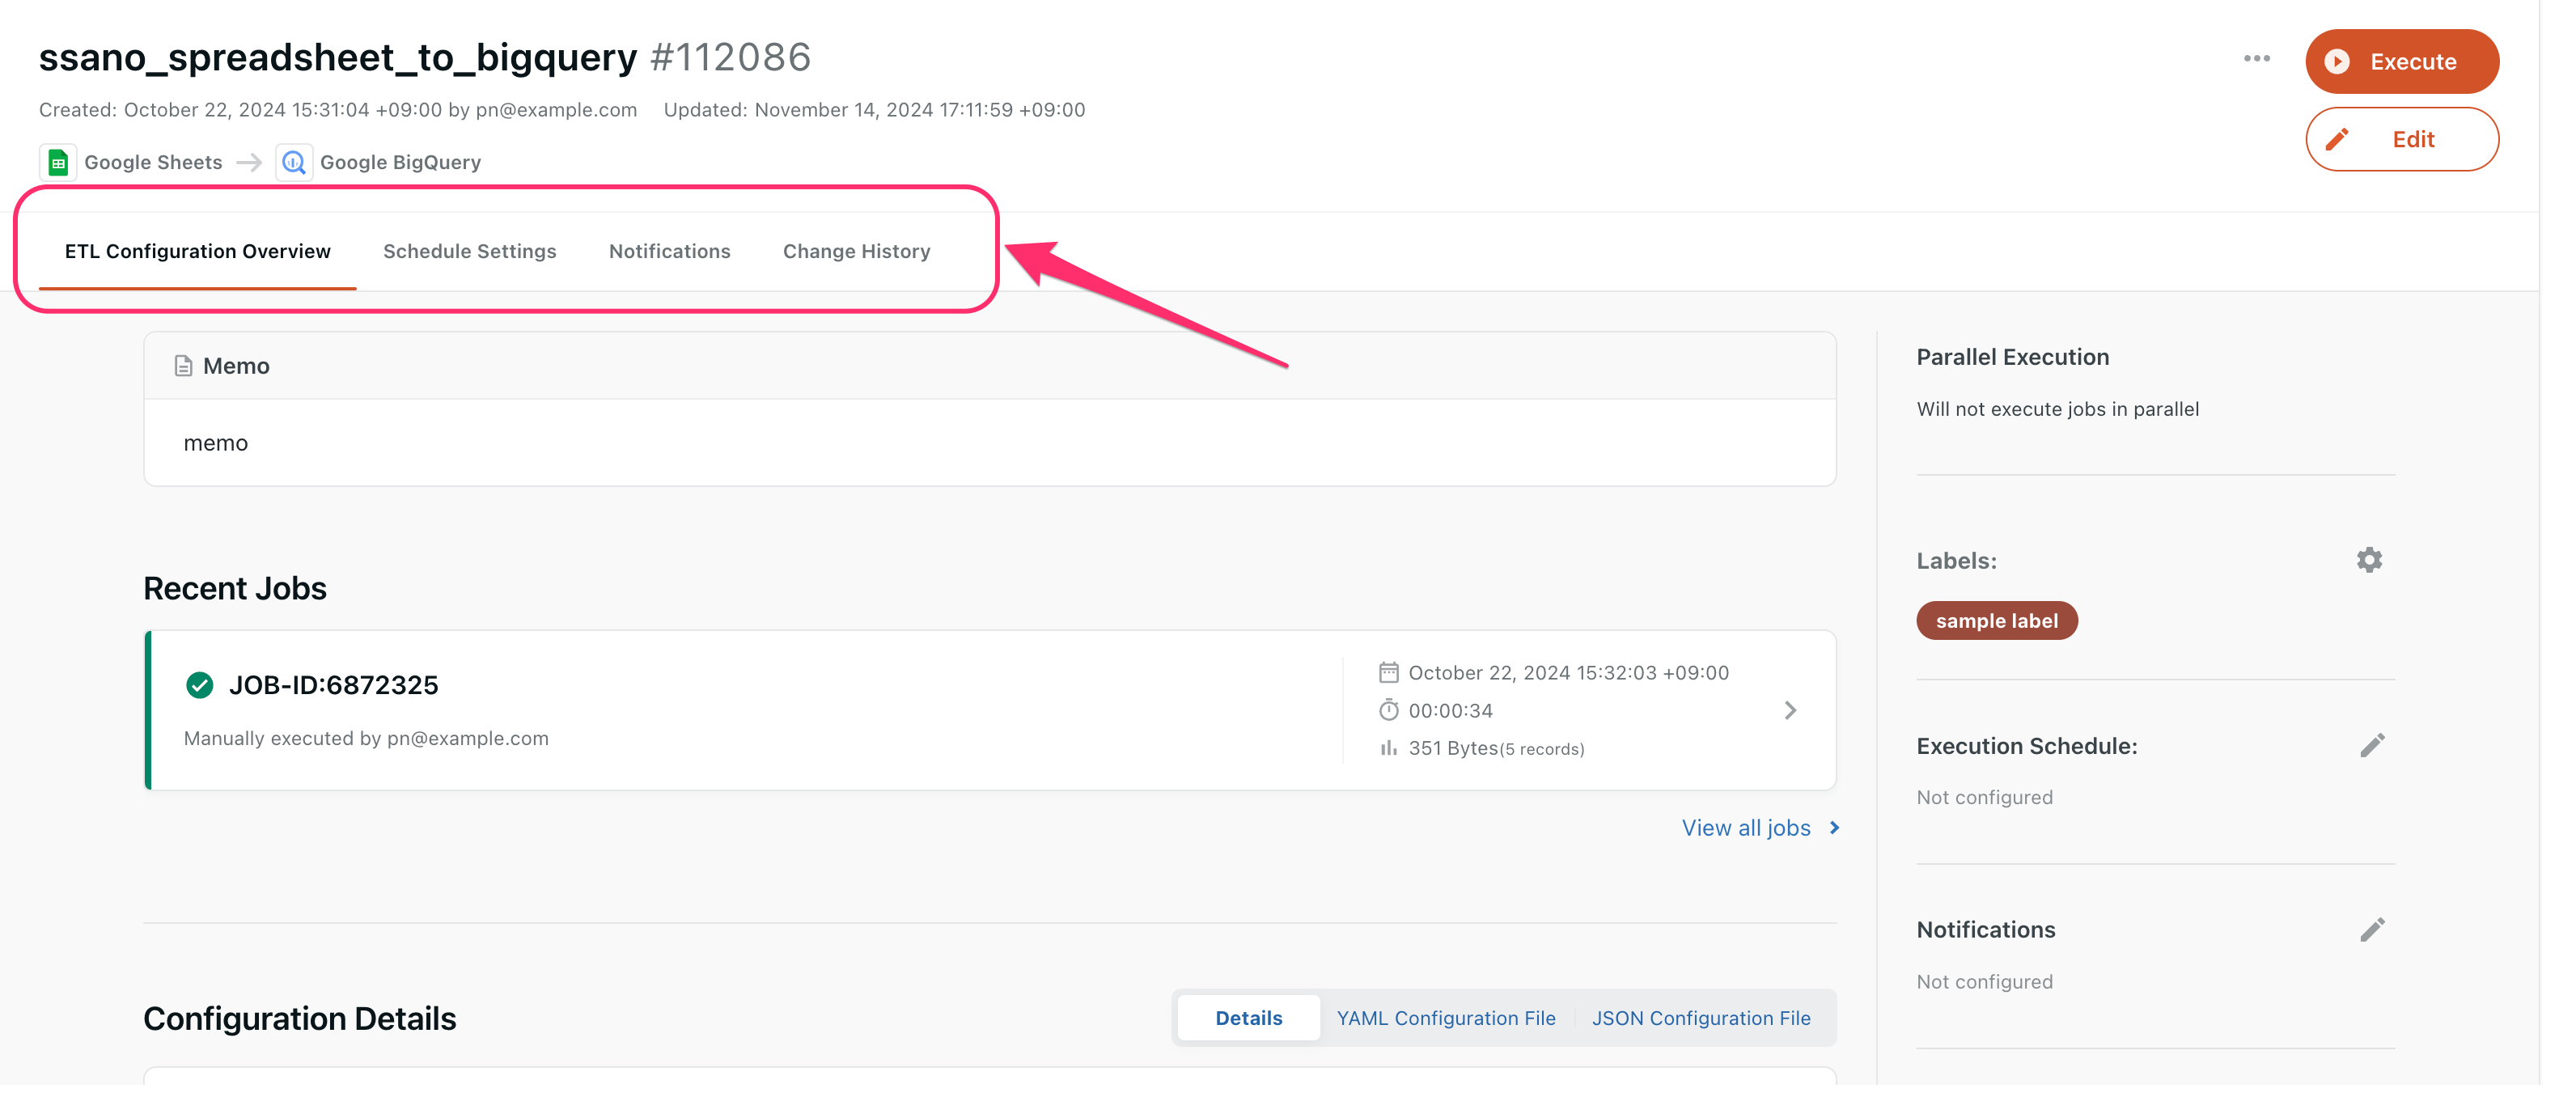
There are additional useful features that you can configure for the transfer settings you create.
Each setting can be configured in the Transfer Settings detail screen and can be switched on the tab.

Transfer Configuration Summary
You can check recently executed jobs, source and destination settings, execution previews, etc.
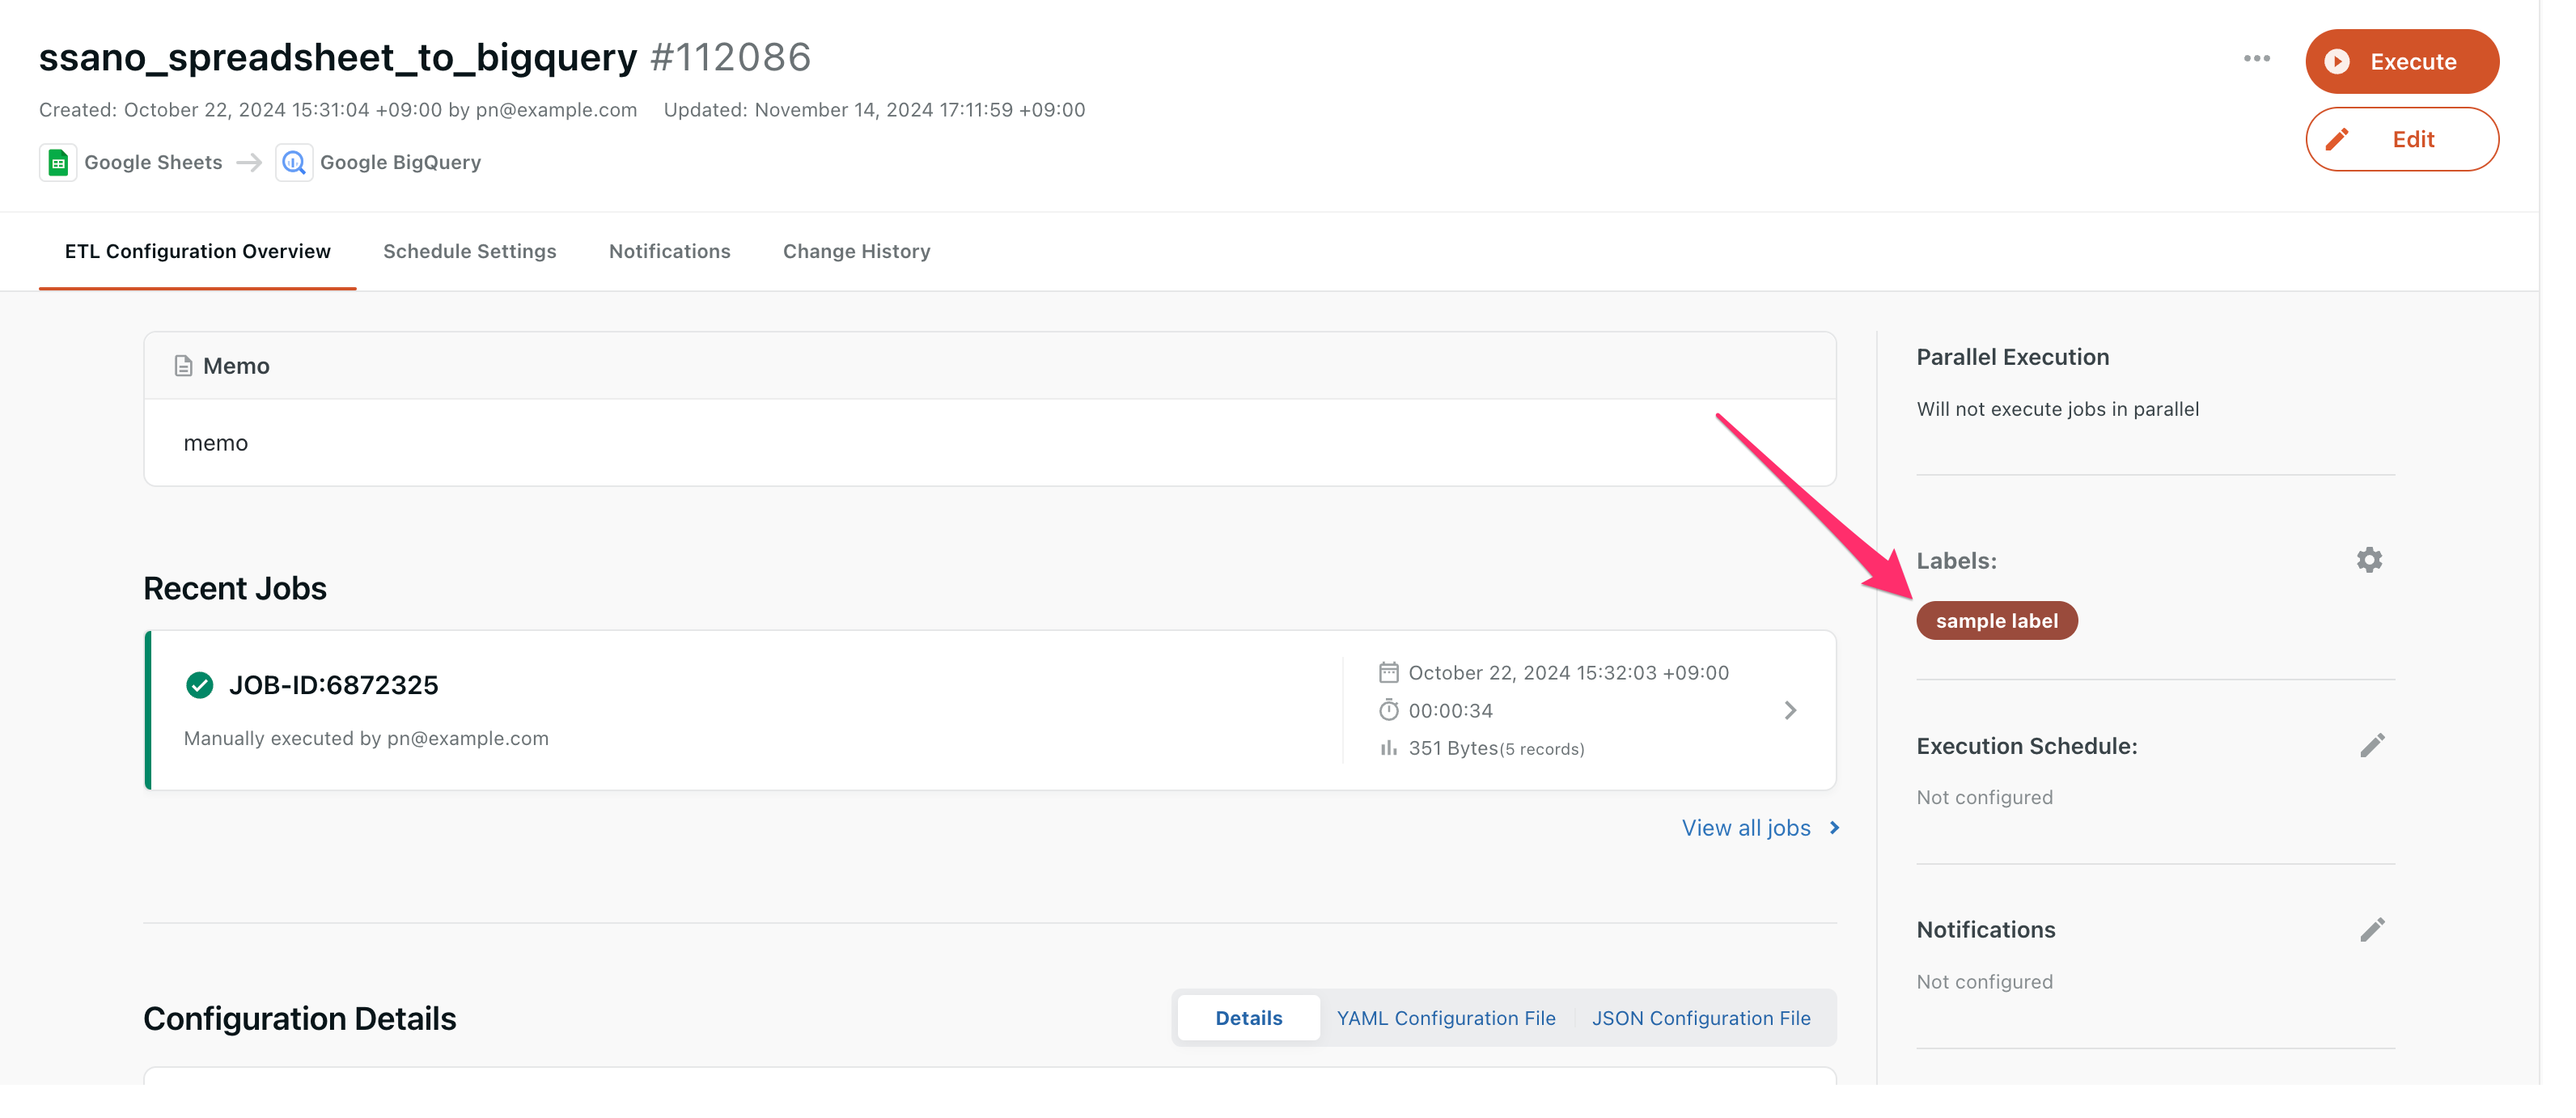
You can also set labels for forwarding settings.

Scheduling
You can click Add Schedule to schedule the automatic execution of transfer jobs.
By setting a schedule, it is possible, for example, to automatically run a job every Sunday at 20:00.
Notification Settings
Configures notifications about forwarding jobs that have occurred.
By setting the notification settings, you can do the following.
- If the transfer job fails, please notify us
- If the result of transferring differential data is 0, please notify to that effect
1. Create Destination
Click Add Notification Settings.
A new notification settings dialog appears. Click Add Destination.
Select the service for which you want to register notification settings.
- Slack
- For instructions on how to configure, see Configuring Slack Notifications.
- Email
- Enter the email address you want to notify and click Save.
2. Create Notification Settings
After you create the notification destinations, you create notification settings and assign them to forwarding settings.
Reopen the New Notification Settings dialog and fill in the fields.
- Notification Type
- Job End
- Notifications will be sent at the end of the job regardless of success or failure of the job.
- On Job Failure
- Notifies you when an error timeout occurs.
- Record Count
- Notifies you of the number of records that have been transferred or skipped transfer at the end of the transfer job.
- When run time has elapsed
- Notifies you when a specified amount of time has elapsed since the job started running. The job itself continues to run.
- Job End
- Notify To
- Select the destinations you want to assign to your forwarding settings.
- Click Reload Destinations to refresh the list of destinations displayed as choices.
- Message
- If typed, that message will be sent to the channel on job notification.
When you are done, click Save.
Change History
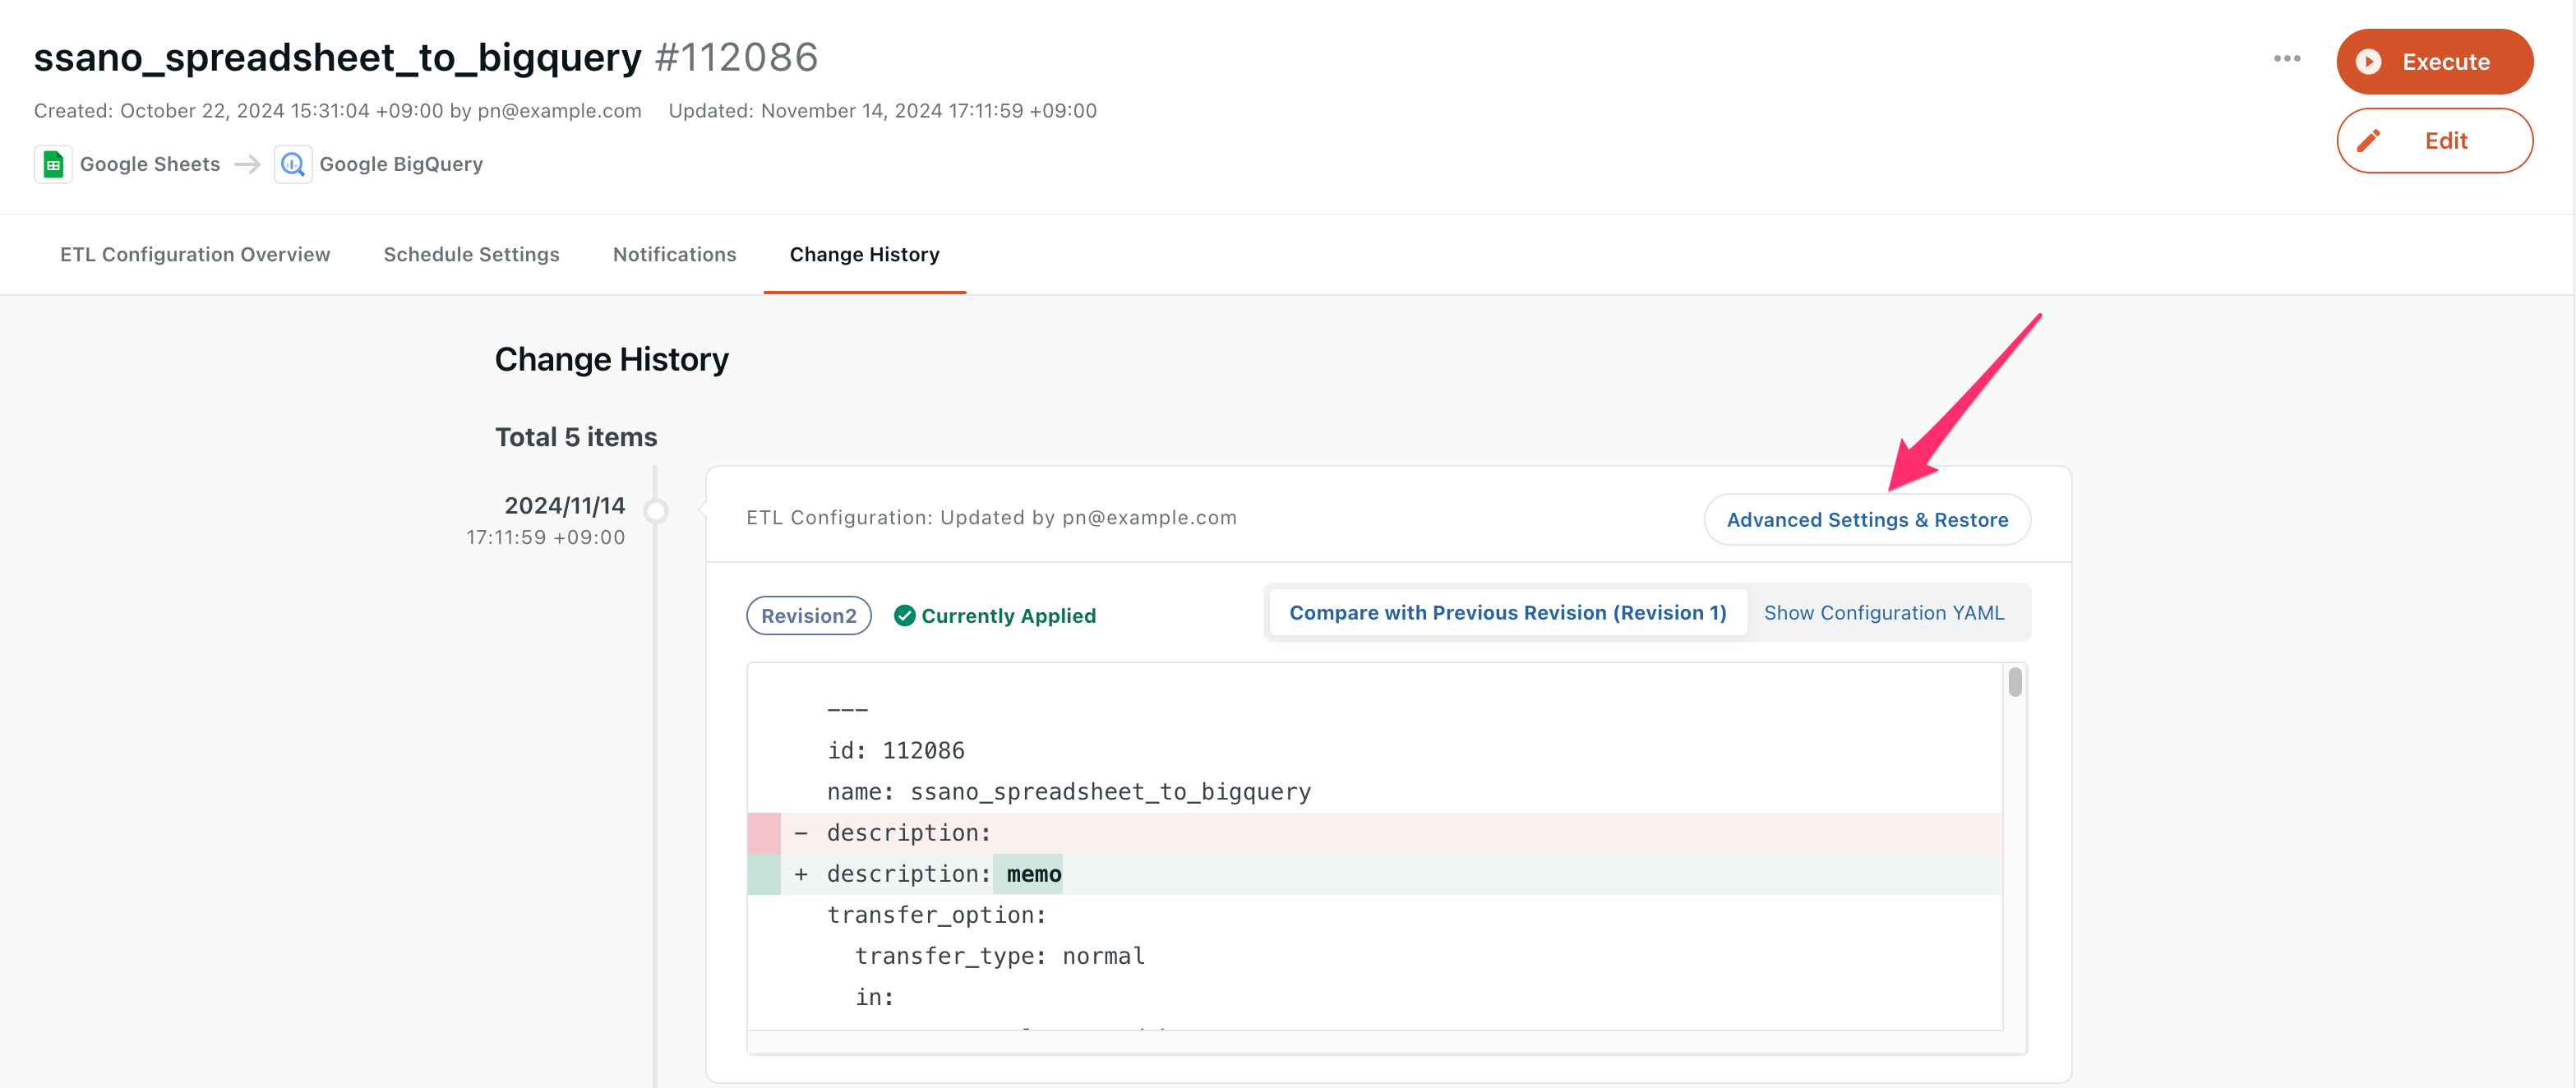
Allows you to view the history of changes to your transfer settings.
You can also restore past changes.
Change history can help you solve the following issues:
- Transfers no longer work correctly after changing settings. I want to revert to the original settings.
- Other members who share the configuration make changes. I want to see the difference before and after the change.
If you want to restore past settings
Click Advanced/Restore of the revision you want to restore.

Check the revision details for differences and click Restore revision settings if all is well.
The following procedure is the same as the transfer setting STEP 3.